

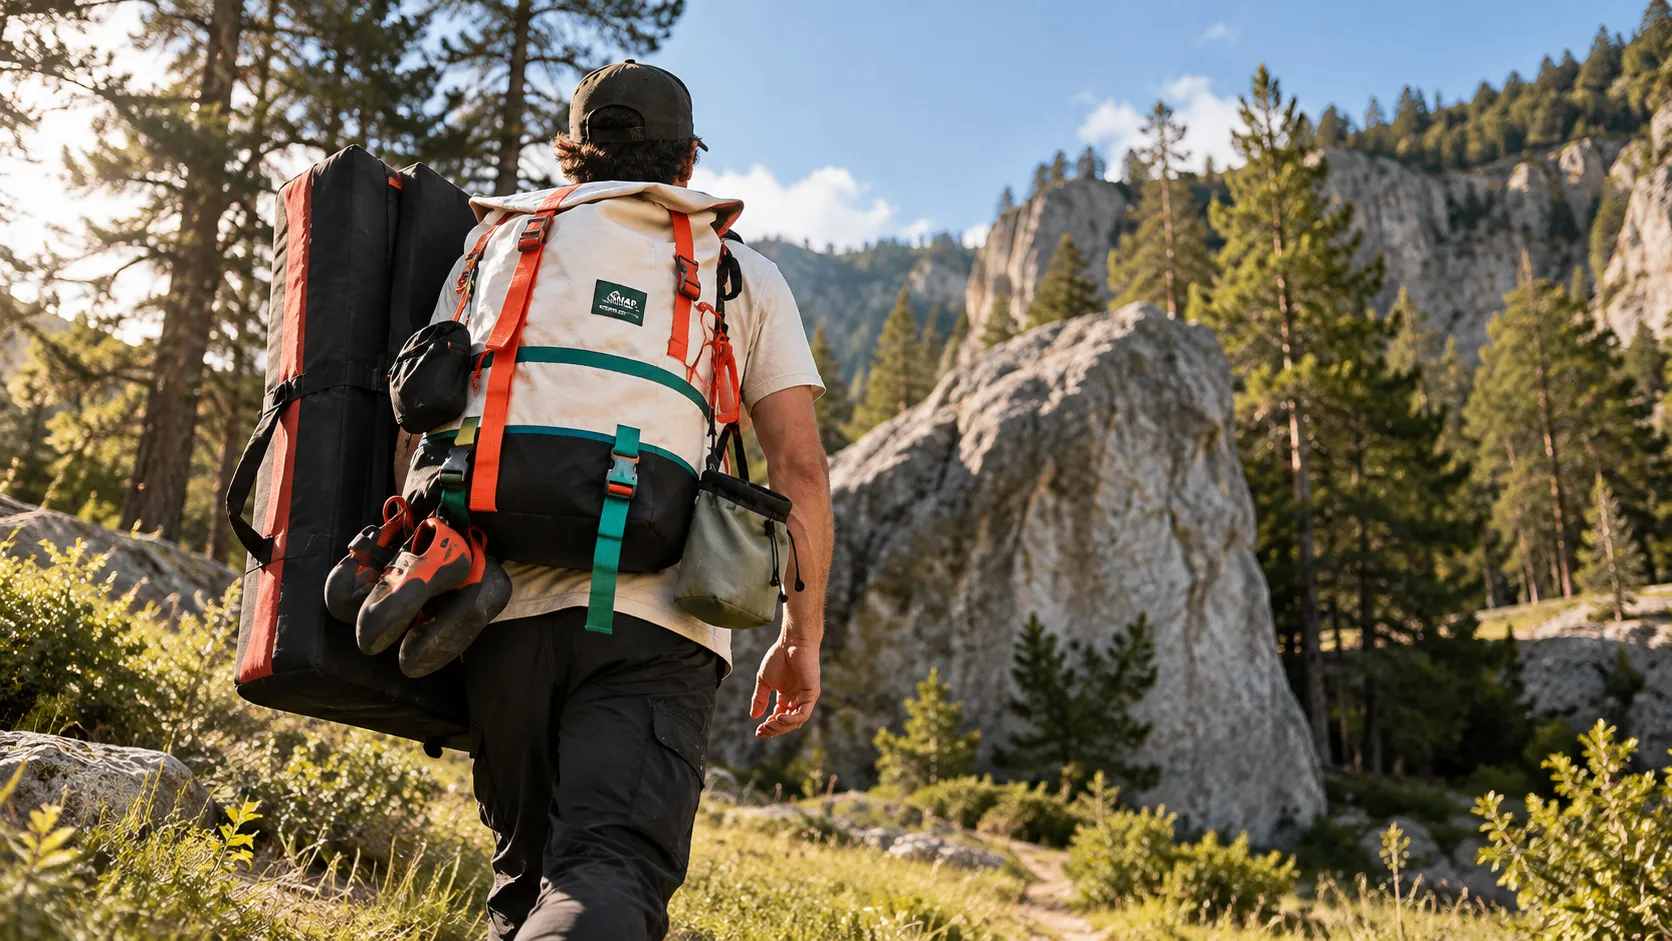
Buying an climbing bag: choosing the right model for your needs
A backpack that is too heavy comes at a price when approaching the mountain: for an itinerant hiking trip, the Fédération Française de la Randonnée Pédestre recommends not exceeding 20 % of the weight of the carrier. As you climb, you also add the rope, hardware, and rock dust: it’s no longer just an “everyday” backpack; it’s a real climbing tool. In this guide, you’ll choose quickly and correctly, using a concrete method focused on comfort, carrying, and durability. To explore the useful accessories around the backpack, see climbing accessories.
The essentials in thirty seconds
First choose your volume according to the practice (climbing, big route, mountaineering) and the duration of the outing.
Validate the carry-on: shoulder straps, belt and straps must remain stable and compatible with the harness.
Save time at the foot of the tracks with a simple organization (opening, pockets, external fasteners).
Check the durability where it breaks: the bottom, the seams, the loops and the zippers.
Before comparing models, you need to define your needs to avoid buying “just about” what you need.
Prerequisites for buying a climbing pack without making a mistake
Tools, time, and difficulty level: go for a simple method
You only need three things: your usual gear, a place to load the pack (at home or in a store), and ten minutes to walk and move with the pack on your back. The difficulty is low, but the impact is huge: in climbing, a poorly adjusted pack turns a steep approach into punishment, and a poorly organized pack wastes time at the base of the routes.

Set a clear constraint: your loaded backpack must remain bearable for your body. In hiking and trekking, the limit is 10 kg per person. 20 % of the weight of the carrier It is a common-sense rule for sizing the load. When climbing, this rule avoids two mistakes: buying too large (and filling it too much), or buying too minimalist (and carrying everything by hand).
Finally, take note of your terrain constraints: long trail, rocky, abrasive rock, unstable weather, passages in the canyon. A climbing backpack must withstand the friction, shocks, and dust, without sacrificing comfort.
Checklist: equipment to be transported today (and what changes everything)
- Insurance system and accessories: what must remain accessible without having to empty everything.
- Slippers Ideally, they should be separated from the rest to limit moisture.
- Magnesia Think of a magnesium bag and a compartment that doesn’t open on its own.
- Water and food: a pouch or a bottle, without crushing the fragile equipment.
- Sheets (light down jacket, windproof): accessible quickly if the wind changes direction.
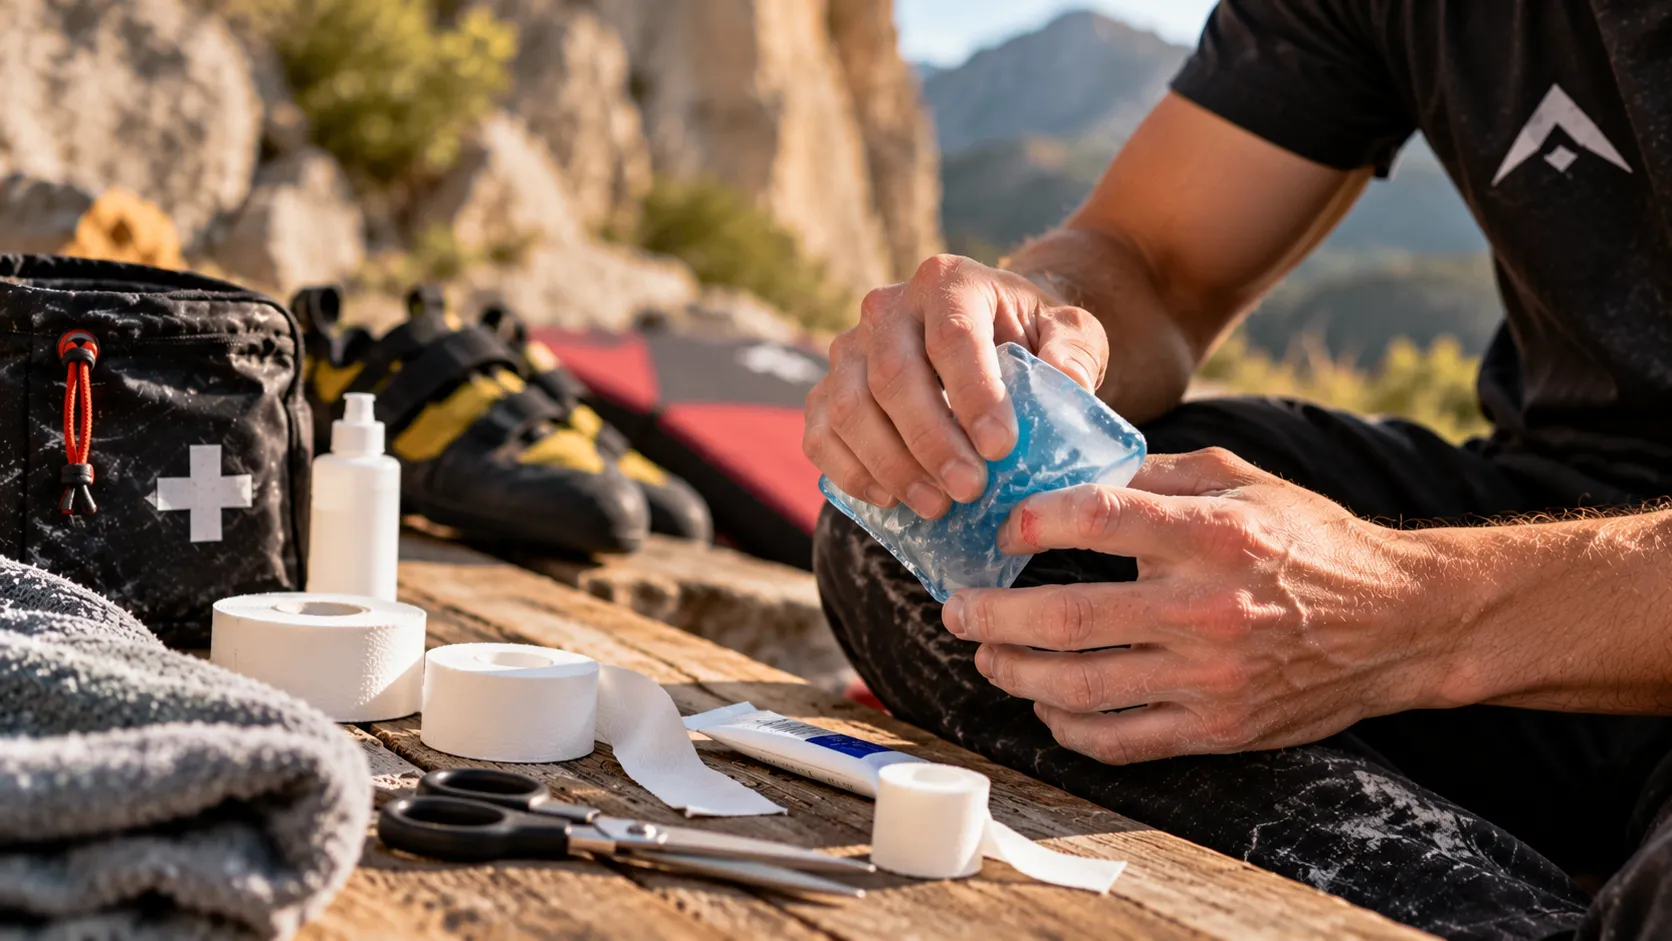
- A little security Pharmacy, front desk, adhesive tape, knife, whistle.
You may carry many small items, but your pack is judged on two moments: the approach and access to the equipment at the relay or at the foot of the cliff.
Calculate your load using a simple rule (percentage of weight) before talking about volume.
Your bag must survive the rocks: dust + abrasion + shocks, not just “wearing out”.
Once your context is clarified, volume becomes a rational choice, not a gamble.
Defining your practice and the right volume without overloading it
Falaise, great trail, mountaineering: translate your outing into useful liters
The useful volume depends less on your level than on your dominant practice. In the alpine environment, you are looking for quick loading and efficient opening. In the high-altitude environment, you add management (organization, access, sometimes a warmer vest). In mountaineering, you add stability constraints, fixations, and durability on aggressive terrain.
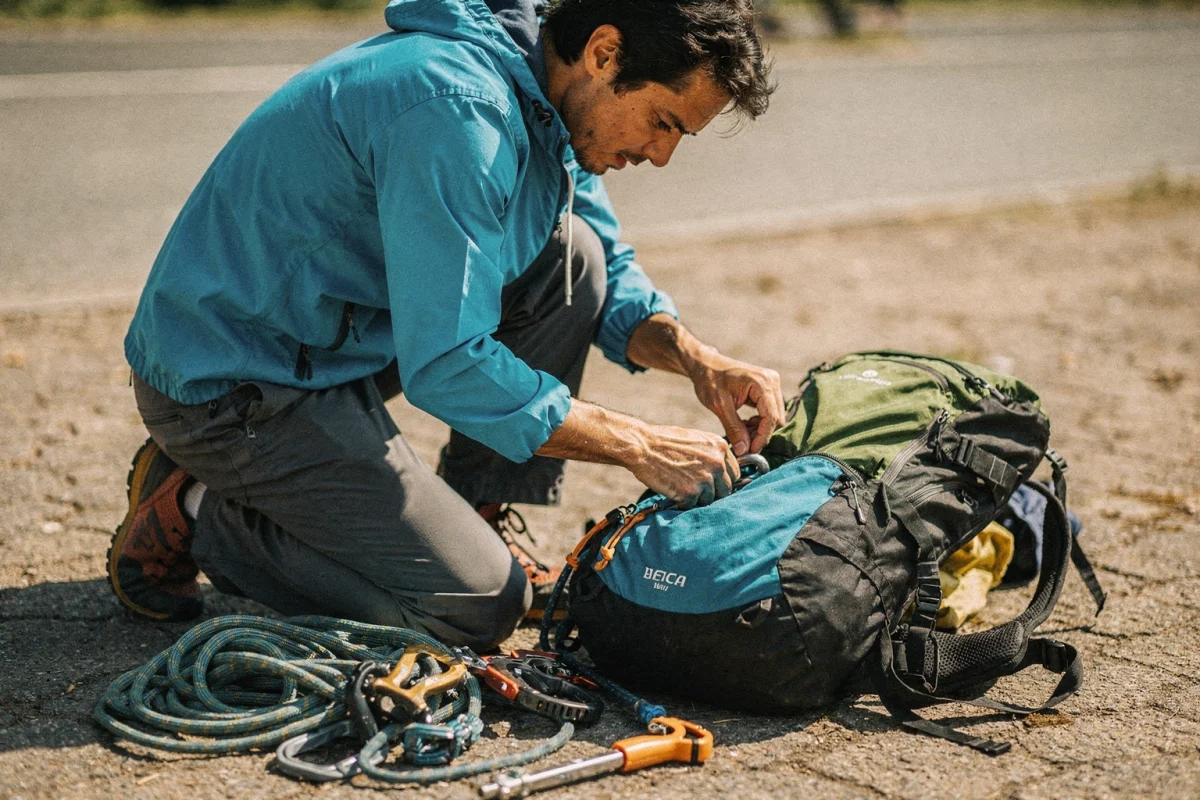
To be objective, start with the heaviest item: the rope. On a typical Petzl Lead dynamic rope, the stated weight is 100 kg. 60 g per meter. This single fact reminds you of one thing: if you choose a bag that is too small, you will compress everything, and if you choose one that is too large, you will carry “empty” baggage filled with unnecessary items.
Flux: Short release → rope + slippers + magnet → priority quick opening → “compact” volume.
Longer-lasting product → + water + diapers + pharmacy → dedicated pockets → “multi-purpose” volume.
Hiking or mountaineering → + helmet fixation + possibly poles → stability + reinforcements → “mountain” volume.
| Profile | What you carry most of all | Recommended volume (in words) | Type of bag that works |
|---|---|---|---|
| Falaise at the half-day | Cord, magnesium, slippers, water | Around “thirty to forty liters” | Shoulder bag or compact suitcase |
| Great way to spend the day | Organization + clothes + water | Around “forty to fifty liters” | Versatile bag with quick access |
| Mountaineering / mixed terrain | Stability, reinforcements, external fixings | Around “fifty liters and more” | Robust mountain backpack, effective shoulder straps |
Mini-profile quiz (recommended capacity) Check the one that most closely matches you. If you have three answers in a column, that’s your target volume.
- Compact Short outings, minimalist organization: you hate wearing “for nothing”.
- Versatile : you climb on cliff faces and in big routes, you want pockets and a real carry system.
- Mountains When you do mountaineering, you need stability and reliable external fixings.
The volume is decided based on your actual output, not as a “just in case” option.
The cord sets the tone: the weight per meter prevents you from underestimating (or over-sizing) the bag.
Micro-CTA: make your list of equipment, then delete two items “just in case” before buying. You’ll save time and effort from the very first approach.
When the volume is consistent, the true differentiating criterion becomes carryability and stability.
Choosing a stable carrier that remains compatible with your harness
Adjustments, belts and straps: the trio that decides on comfort
The carryover is based on three points: the length of the back, the straps, and the waist belt. An effective climbing backpack distributes the load against you, without pushing you backward. On long routes, this stability prevents the “invisible” fatigue: you don’t feel it at first, but it catches up with you on the return journey.
The belt must be usable without conflict with the harness. The goal is not to “tighten it too much,” but to transfer some of the weight to the pelvis while still allowing the harness to breathe. Also check the chest strap: it stabilizes the shoulder straps, especially when you move with a helmet or in a narrow passage.
A simple benchmark to avoid being overweight: on an itinerant hiking trip, the recommended limit is 10 km per day. 20 % of the weight of the carrier. When climbing, you can occasionally go over the edge if you are trained, but your backpack must remain “supportable” without twisting towards the back.
A challenging test in store: a simple protocol
- Load the backpack with a realistic weight (rope + dense material).
- Walk for at least five minutes, then climb and descend a few steps.
- Make three movements: raise your arms, look above you, turn your torso.
- If it wobbles or if it rubs against the bottom of your back, adjust the charging reminders and the straps.
Good carrying is a load close to the body and stability that doesn’t pull you back.
Belt and harness must coexist: if it bothers you in the hips, it will be a bad purchase.
Once the bag is comfortable, it should above all save you time when the climb begins.
Validate access and organization to climb without losing minutes
Opening, pockets and external fasteners: your routine at the foot of the trails
Three architectures dominate: suitcase-type opening (you see everything), top loading (simple, but more “vertical”), and zipper-closure side opening (targeted access). The best choice depends on your discipline: in the canyon, the suitcase opening is often unbeatable for setting up, opening, putting on shoes, and leaving. In a big route, a lateral access can avoid having to take everything out at the relay.
The external pockets are for what should remain accessible: water, compass, windbreaker. The internal compartments are for separating things: magnesium, medicine cabinet, wet items. The external attachments become keys once you switch to mountaineering: helmet, poles, or even lightweight crampons depending on the itinerary.
Keep the load constraint in mind: if you stack things “randomly,” you degrade the stability and tire yourself out faster. The benchmark for 20 % of the weight of the carrier When hiking on an itinerary, the most important thing to remember is to place the heaviest item close to your back.
| Bag area | What you put on | Why |
|---|---|---|
| Against the back | Cord + dense hardware | Stability, less pitching in hard turns |
| Top of the bag | Sleeping bags, windbreakers, food | Quick access if the weather changes |
| Dedicated pocket | Magnésie, brush, pharmacy | Organization, hygiene, nothing is reversed |
The organization serves climbing: less time searching, more time climbing.
External fixings are not “optional” once you leave the easy trails.
When access is good, the pack must survive the challenges of climbing: rock, dust, friction.

Checking the durability and repairability of a durable bag
Fabrics, reinforcements and breaking points: what you inspect before buying
One climbing bag It is first used on the bottom, the corners and friction areas. Look for solid reinforcements, a dense outer fabric, and clean, regular seams. On abrasive rock, an internal coating helps, but never replaces a too-thin fabric.
Next, inspect the classic break points: loops, attachments, straps, and zippers. A zipper that sticks to itself quickly becomes a nightmare when the bag is loaded and dusty. On the field, you want to be able to handle it even with cold fingers.
Repairability is not a luxury. When a product breaks down, the temptation is to replace it. But counterfeit products and “throwaway” products are pushing the market downward: in Europe, More than 152 million counterfeit items were seized in 2023, for an estimated value of 3.4 billion euros. Without paranoia, this figure reminds us of a rule: buy a bag with consistent finishes, and parts that are simple to replace.
As for the rain: a protective cover is provided, but a wet bag is best handled by drying it out. Open it, ventilate it, and avoid storing it in humid conditions. This is the foundation of durability.
Check the bottom, the corners, the seams: that’s where the bag “dies”.
Repairability is evident: standard loops, accessible straps, simple construction.
With a sturdy bag, you can compare the real value: what you pay, and what you keep over time.
Comparing prices and value in 2026 without regret after three outings
What makes the value: usage, after-sales service, parts, and resale
The price of an climbing backpack only makes sense when compared to your own usage. If you climb the rocks every week, you will quickly find that a comfortable and sturdy backpack is essential. If you only climb occasionally, a simple but well-designed model will suffice, provided it doesn’t make you “weary” from the approach.
Think in terms of total cost: case, small parts, maintenance. Also ask if the brand can provide parts (clips, straps) and if the after-sales service is available. These are details that can make the difference on the day when a clip breaks the day before a trip.
To objectify the load, keep a framing rule: in hiking, the recommended ceiling is 20 % of the weight of the carrier. A more expensive bag, but better designed, often helps you stay under this “perceived” limit, because the carrying is distributed better.
Finally, the resale value depends on one point: the condition of the fabric, the seams, and the closures. A clean, dry, well-maintained bag sells well. A bag that smells of moisture, however, does not.
Compare the value in terms of usage: portability, organization, durability, not just volume alone.
A good backpack “saves you” from fatigue, not just from carrying capacity.
Once you know what a bag is worth, the decisive question remains: where to buy it to reduce the risk.
Buy your climbing bag in the right place, according to your risk tolerance
Store, online shop, second-hand: the right channel for the right purchase
Specialized store This is the best choice if you are unsure about carrying the equipment. You can test it loaded, adjust the straps, check the belt with your harness and simulate movements. For climbers who often have a steep approach, this test is more than just a product description.
Online store Perfect if you already know a model or a cut. Require clear photos of the areas prone to wear (bottom, straps, buckles), and a simple return policy. A good indicator: the description explains the use (trail, big route, mountaineering), not just the “characteristics”.
-

Cargo 29L
145,00€

Second-hand Interesting if you know how to inspect. Check the seams, the condition of the fabric, the alignment of the closures, and the consistency of the labels. The context of counterfeiting in Europe (massive seizures) justifies this vigilance: more than 152 million items captured in 2023, value 3.4 billion euros.
Express checklist (60 seconds) before paying
- Does the bag stand upright or “fall over”? Good indication of its structure and load-bearing capacity.
- Base: no bleached area, no visible stitching, reinforcement present.
- Loops: clear clicking sound, no excessive play.
- Straps: no stitching that pulls, no fraying.
- Seals: tight, without any leakage.
If you doubt the portability, buy it where you can test it loaded.
When you're looking at a second-hand item, inspect it as if you were leaving tomorrow: the bottom, the seams, the loops, the closures.
Micro-CTA: note your three non-negotiable constraints (volume, access, harness compatibility) and reject any bag that fails to meet them.
After the point of sale, the most profitable thing is to avoid the classic mistakes that cost time and energy.
Avoiding the mistakes that make a bag that is “well-reviewed” seem hated”
Typical bad choices: volume, comfort, access, and false bargains
Volume error Too big, you fill it with “default” material and you wear too much. Too compact, you force, you crush, and you lose in organization. The weight of the rope brings you back to reality: on a typical Petzl Lead rope, that’s 60 g per meter They are announced, so the volume must accept a dense load without turning the bag into a brick.
Error of comfort Belt that interferes with the harness, straps that are too close together, a bag that rubs against the neck. If you feel discomfort in a store, it becomes a pain on the trail. This point is even more true if you are hiking on unstable terrain.
Access error Slow organization. If you have to go out to get the magnésie or the pharmacy, you waste time, get dirty, and tire yourself out. In the canyon, it’s unpleasant. On a long route, it can become dangerous if you improvise on the relay.
Fake deals Part of the risk comes from copies. The seizures of counterfeit goods in Europe give an indication of the scale: more than 152 million items Seized in 2023. A “too beautiful” price must trigger an inspection of the finishes and the origin.
Mistake number one: buying a volume that encourages overtrading.
Access to equipment is a major security criterion, not a “practical detail”.
If you have avoided the pitfalls, the final step is to complete the purchase like a climber: setup, testing, then a first proper outing.
Complete your purchase and have a successful first outing without any surprises
Final adjustment, walk test and cliff routine
Set them in order: back length (if adjustable), straps, waist belt, chest strap, then load straps. The goal is simple: load close to the body, no swinging, freedom of arm movement. Make sure you can raise your arms without the bag lifting, and that you can turn your torso without being “locked in.”.
Do a test pack: walk, bend over, and do a few small jumps. If stability is not good at low intensity, it will be poor on a steep approach. Keep a load reference: in hiking, the recommendation is 20 % of the weight of the carrier. Even if you climb hard, this frame avoids the “sack that crushes you”.
Routine work: at the foot of the routes, always open the same place; place the rope in a reproducible position; isolate the magnesite; keep the jacket accessible. This discipline saves time and reduces wear and tear (less unnecessary friction on the rock).
Maintenance: dust off, dry, store open. A wet bag loses its durability, and odors settle in.
Adjustment = stability: if it wobbles, it’s not “normal”.
The organization routine reduces fatigue and increases the lifespan of the bag.
The final step is to verify that your choice really works in the field, and to correct it quickly if necessary.
Confirming that your bag is the right one: field tests and quick corrections
Measure efficiency: carry-over, access, stability and fatigue
A good backpack performs well in real-life conditions. Perform three tests: approach (walking), installation (at the foot of the trail), and storage (end of session). On approach, your main indicator is fatigue in the lower back and shoulders. On site, your indicator is time to find what you’re looking for without overdoing it. Finally, on storage, your indicator is ease of proper folding without forcing it.
If you want to be objective, return to the load constraint: the recommendation from 20 % of the weight of the carrier In hiking, itinerancy is also used to judge your “load capacity”. If you regularly exceed it, it’s not just a matter of form; either the volume encourages you to take on too much, or the organization forces you to double up on items.
| Symptoms on the ground | Common cause | Immediate correction |
|---|---|---|
| Shoulder pain | Unused belt, straps too low | Lift up the straps, fasten the belt, bring the load closer |
| Swinging | Charging off the back, straps poorly tightened | Replace the heavy load against the back, adjust the load reminders |
| Slow access to equipment | No internal separation, inappropriate openness | Create “zones” (dedicated pocket for magnesium, small pouch) |
| Friction / rapid wear | Fragile foundation, applied on abrasive rock | Change the usual position, add protection, repair early |
Final decision: if the discomfort is resolved through adjustment and organization, keep it. If the discomfort comes from the shape of the back, the belt or the straps, exchange them quickly: this defect does not disappear.
Test it on a real walk: this is where the backpack reveals its level of comfort.
First fix the organization and settings, then cut without hesitation if the shape does not suit you.
FAQ: buying an climbing backpack
What volume for the cliff with a rope?
Aim for a “compact and versatile” volume that accepts cord, crampons, magnesium, water and a warm layer, without forcing. The cord provides the tension: a dynamic cord like the Petzl Lead is announced. 60 g per meter, Therefore, the bag must be able to absorb a dense load and remain stable. Too small, you will compress everything; too large, you will overload it.
Shoulder bag or multipurpose bag: which one to choose?
Choose a harness if your practice is mostly overhanging and you want an ultra-fast “suitcase” opening. Take a versatile harness if you alternate between overhangs and big routes, or if you often add clothing and a more fine organization. In any case, keep a load reference: in hiking, the recommended limit is 20 % of the weight of the carrier.
How do you try on a bag with a harness in a store?
Start by adjusting the straps, the waistbelt and the chest strap, then put on your harness (or simulate its presence with a belt). The bag’s belt should not crush the buckles or interfere with the gear carriers. Load the bag and walk, then perform climbing movements (arms above the head, rotation of the torso). If it rubs or wobbles, it will be worse on a steep approach.
What signs of wear should alert you before buying second-hand?
First look at the fabric: visible stitching, fading, areas of thinning. Then check the seams and straps: points that pull, fraying, worn-out loops. Check the smoothness of the closures. Be also vigilant about the origin: counterfeit exists on a large scale, with More than 152 million counterfeit items captured in Europe in 2023.
How to choose between opening the suitcase and loading it from the top?
Open the bag if you want to see everything and get in quickly (rack, bag placed on the ground). Load from the top if you want a simple construction, often more “mountain-like”, and good vertical stability. If you waste time looking for the magnésie or the pharmacy, the opening is not suitable for your practice. On a long route, prioritize quick access to a few items without taking everything out.
Your best climbing pack is the one that fits your practice, not the one with the most features. Set your volume based on your typical output, demand a stable harness-compatible carry, then choose an organization that saves you time on the trail. Then check the durability in areas of abrasion, and buy in a channel that allows you to test or return without friction. By applying this method, you will avoid the majority of bad purchases and climb more, with less fatigue.
You can also rely on the French federation and the feedback from experienced climbers: their constraints are often the same as yours, regardless of the models.
 Français
 English (UK)


