

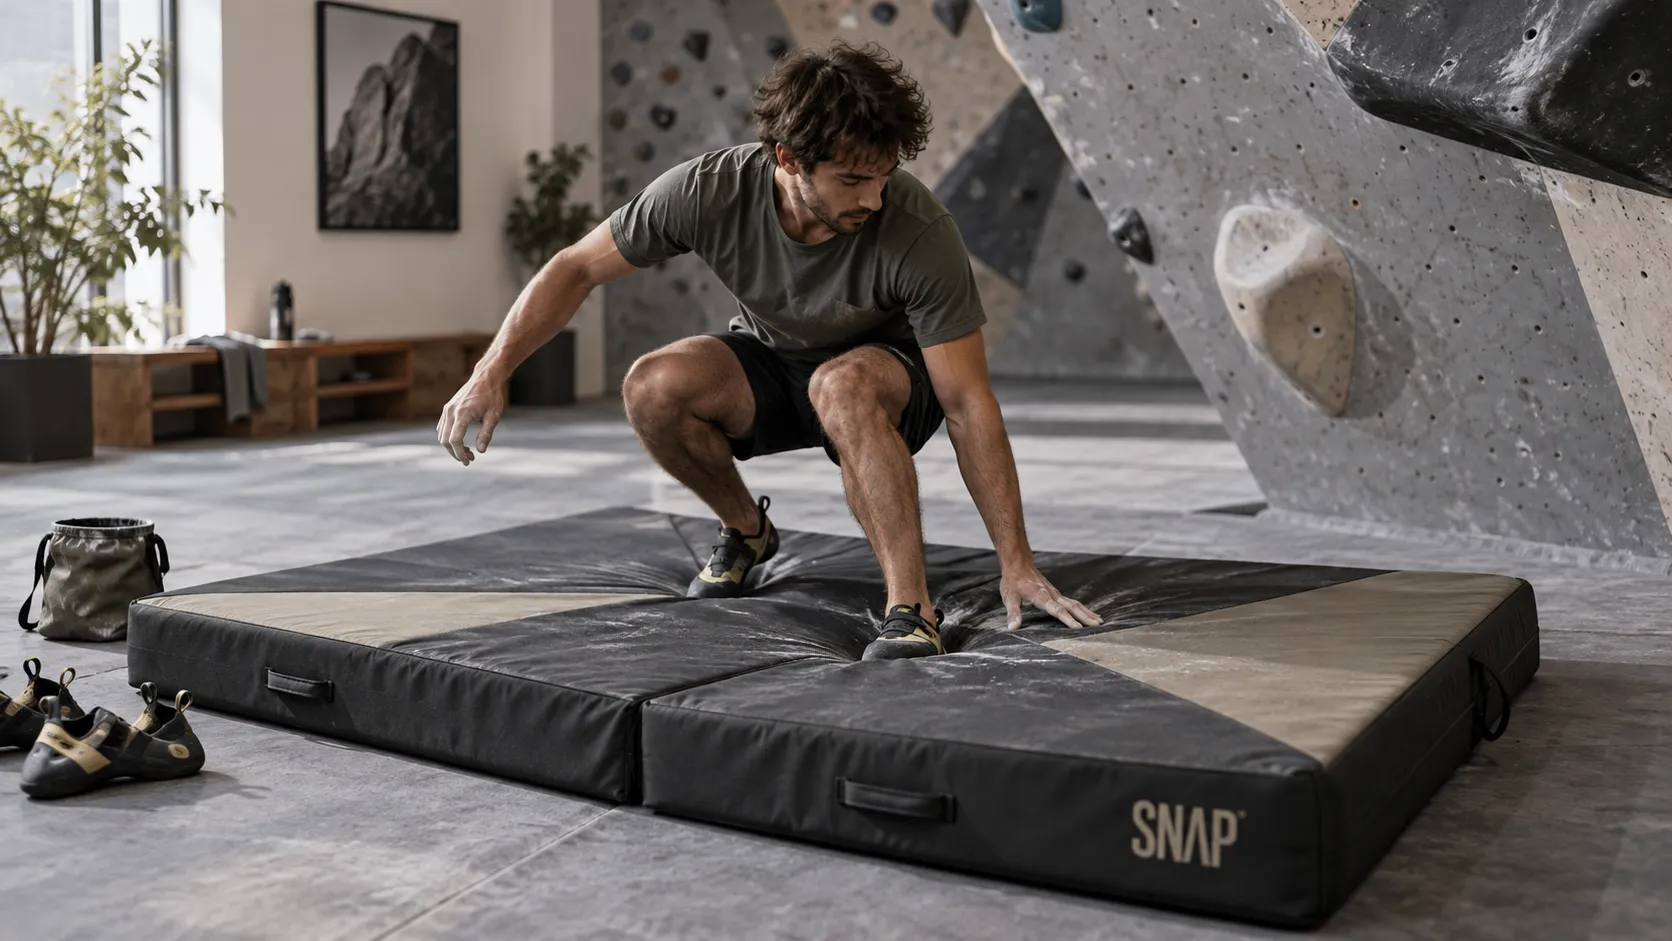
Design crash pad: what really changes your reception
You rarely fall «straight» while climbing a boulder: in a study on fall scenarios, the ankle emerges as the most affected area (around 40 % of the reported injuries). Clinical study on falls in blocks
The key point is that thickness is not enough. The design of a crash pad determines the progression, lateral stability, edge management, and reliability over time. If you are looking for concrete benchmarks before buying, check out our selection of crash pads for blocks.
You’ll leave with a simple method: linking your style (dances, turns, highballs) to a foam architecture, a hinge, a useful surface, and a carry that makes you want to take it with you.
The essentials in 30 seconds
The design of a crash pad is first and foremost about the stability of the reception, not just the cushioning.
A progressive foam limits skidding without catapulting you, especially on uneven terrain.
The useful surface (edges, corners, junctions) counts as much as the advertised dimensions.
A reliable carry-on increases your output, therefore your margin of safety in the long term.
After these basics, let’s move from the «feeling» to the criteria that are verified on the ground.
Securing the reception: the amortization is only half the problem
Real performance according to your block style
A climber working on a steep descent does not impose the same constraints as a low traverse. In highball, placement accuracy and the stability of the crash pad count as much as the foam. On unstable blocks, a poorly centered landing often causes you to «fall» out of the useful area, even with a thick mat.
Good design guides your reception: a center that absorbs, edges that don’t collapse in the wrong direction, and a packaging that doesn’t slip. This is also where the work of an ambassador (field feedback, various spots, wet and cold seasons) becomes essential to validate quality beyond the catalog.
Compromise between protection, precision, fatigue during use
The more flexible the material, the more we think we are protected… until the moment when your ankles «float». Too flexible crash pads are tiring: you force yourself to stabilize, you lose precision, and you descend less smoothly. Conversely, too rigid pads can bounce and cause you to spin again.
The right compromise is gradual absorption: you brake quickly at the beginning, then you finish the deceleration without stalling. This setting depends on your needs, your frequency of riding, and the terrain. This is typically the kind of advice a good shop (or solid customer service) should help you clarify.
Why design changes reception: because it determines how energy is dissipated (vertically and laterally), and therefore your stability when your feet touch the ground.
Common misconceptions: «thicker = always better»
No, a rough thickness is not a good idea if it comes with a pronounced rebound or an unstable hinge. The outdoor terrain adds rocks, roots, and unevenness: your crash pad should be smooth without creating a trampoline. Moreover, reported block injuries often focus on the lower limbs, which reminds us that ankle stability is a design goal, not a bonus. Clinical study on falls in blocks
Ground hazards: rocks, landslides, unstable slopes
On rocky ground, the risk is not only the slumping: it is the «tilting» effect. If your crash pad bridges a gap, it may collapse on one side upon impact. This opens the door to an uncontrolled landing. In canyoning, you quickly learn that the uneven ground «decides» for you; in outdoor climbing, it’s the same: positioning, orientation, covering, everything becomes tactical.
Aim for lateral stability as much as vertical damping.
Adapt the design to your style (pour over, cross over, highball), not to a single thickness measurement.
On uneven terrain, the alignment sometimes amounts to «one more crash pad».
Once the issues have been identified, let’s look at what’s happening inside: where design really makes a difference.
Decoding the design: foams, hinges, casing, finishes
Overlaying the foams: absorption, rebound, progression
The base is a combination of foams with different behaviors: a layer that distributes the impact, then a layer that absorbs it deeply. In practice, many outdoor crash pads have a total thickness between 8 and 15 cm. Depth marks for outdoor crash pads
The trap is the rebound: an upper layer that is too «dynamic» sends back energy. In boulder climbing, this rebound causes you to lose your axis, especially when exiting the chasm. Look for a progression that brakes quickly, then finishes the work without a peak.
Combined densities to limit the build-up of sediment
The cushioning comes when the foam crumbles to the ground. Effective designs combine densities: a first barrier that distributes and stabilizes, then a more «absorbing» zone. On rigid crash pads, the terrain reading is better, but the impact can be harsh. A well-thought-out hybrid model seeks precisely to maintain the stability of the rigid parts without penalizing the reception.
It is also a matter of service: good after-sales service must be able to explain the meaning of the layers, maintenance, and what to watch out for after a wet season.
Hinges and pleats: continuity, weak points, stability
A poorly managed hinge creates a central gap, sometimes right under the point of impact. Moreover, on sloping terrain, the hinge can «break» the support. The design must protect the surface continuity, or make the junction neutral. When assembling several crash pads, the logic is the same: cover the gaps before looking for more thickness.
Flux: distribution layer (stability) → absorption layer (gradualness) → envelope (fit, grip) → hinge/fold (continuity) → stitching and reinforcements (durability).
Progressivity limits the rebound without increasing it.
A hinge is a design element: treat it as an impact zone.
A hybrid model is only of interest if it reduces the weaknesses, not if it adds up the flaws.
The internal design is useless if your drop zone overflows: let's talk now about dimensions and useful surface area.
Dimensions and surface: target the useful reception area
Size adapted to movements and heights
The receiving area is not a marketing detail: it is your margin of error. As a reference, lengths around 100 to 150 cm and widths around 100 to 130 cm often give a surface area between 1 and 2 m². Dimensions and surface of reception
For children, this margin is even more critical: the trajectory is less readable, and the maneuver is more delicate. In highball, the surface must also anticipate the «swing» away from the block, not just the vertical one.
Useful shapes by blocks, intersections, exits
When crossing the road, the surface must be «long,» or intelligently composed with other crash pads. When exiting a ramp, it’s the edges that matter: they must remain stable when you come to an angle. A good crash pad design is often a shape that helps align the pads, not a theoretical rectangle.
Edges, angles and multi-pad assembly: overlap and gaps
The gaps come from junctions and differences in thickness. Work in overlapping layers, not edge to edge. A specialized store (like Chullanka, in some very frequented spots) often emphasizes this point in their advice: it’s better to have a secure junction than a poorly laid down large mat. Chullanka also publishes useful user reviews if you’re looking for a comparison of different approaches for the field.
| Land / block | Surface priority | Design to be prioritized | Common error |
|---|---|---|---|
| Flat surface, vertical drop | Standard landing margin | Progressive mousse, stable center | Too soft pad, unstable ankle |
| Dives, back swing | Surface shifted away from the block | Sturdy edges, neutral hinge | Landing zone placed too «under» |
| Crossed, side exits | Extended surface, clean junctions | Multi-crash pad assembly covering | Gaps between pads |
| Irregular ground (rocks, roots) | Surface «stabilized» by bracing | Design that is tolerant and has good grip on the wrap | Pad that tilts when impacted |
The useful surface is determined by the edges and junctions.
Place the likely fall zone, not the center of the crash pad «at the foot of the block».
When grouped together, the right combination of crash pads provides better cushioning.
A large surface is useless if the packaging is flimsy: durability is part of performance.
Envelope and durability: resistance, grip and longevity
External fabrics: abrasion, humidity, cleaning
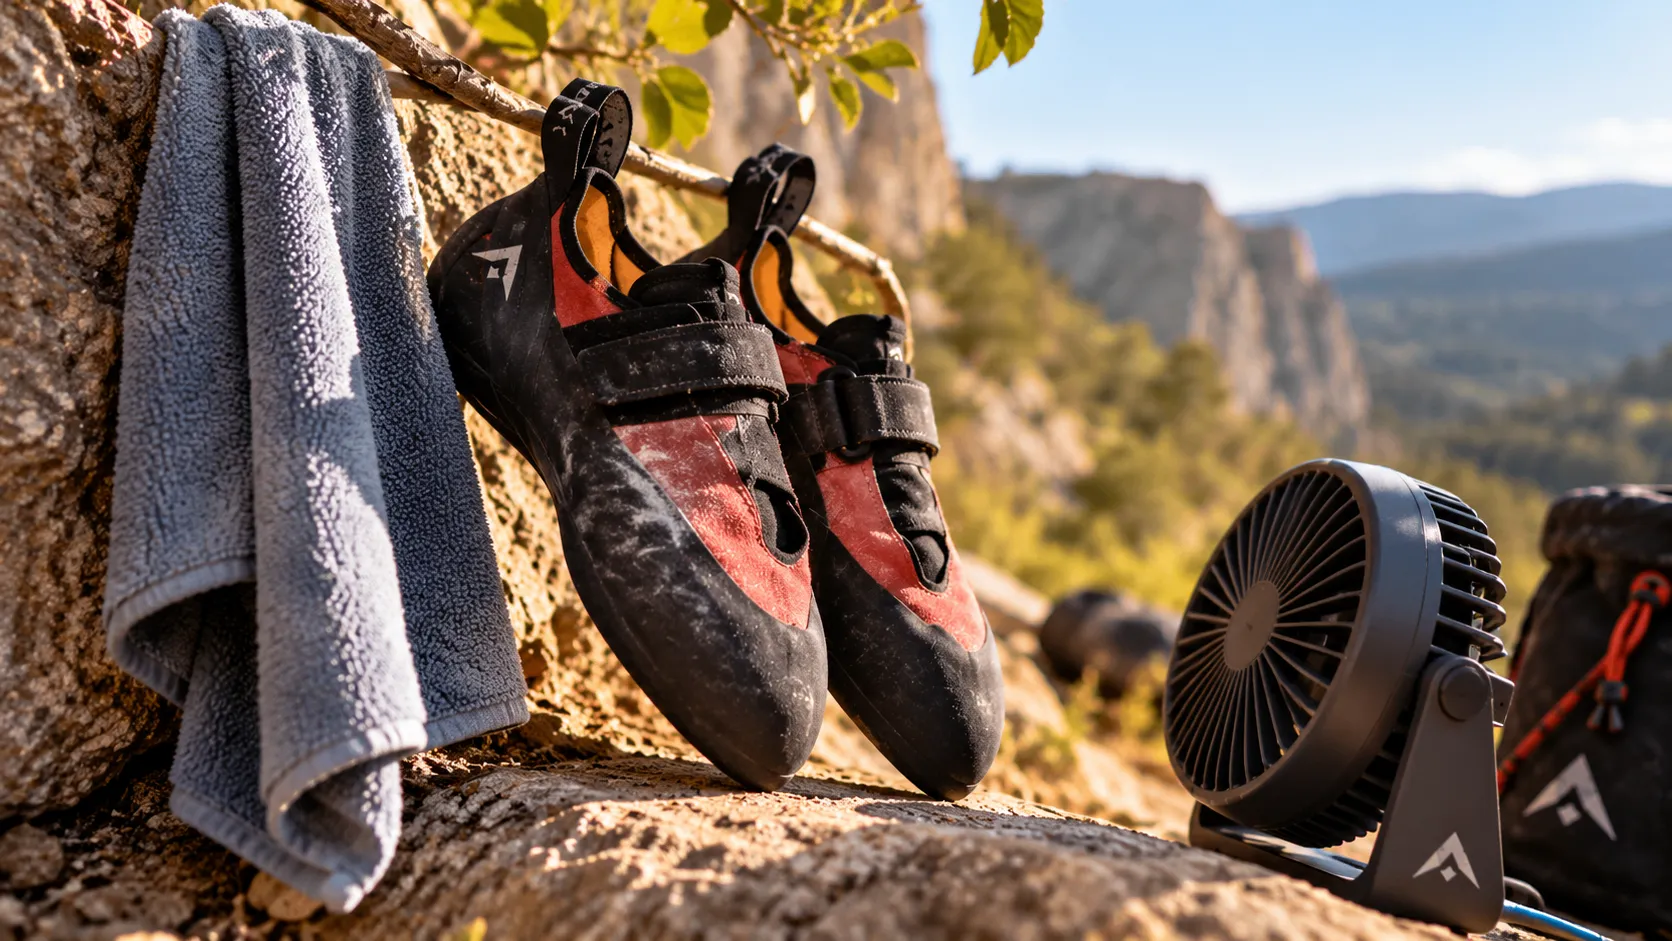
On granular rock, the casing absorbs friction, sand, and moisture. If you also practice canyoning, you know the rule: what resists water but wears from friction is not durable. In climbing, look for a casing that retains grip when it is dusty and that cleans itself without tearing at the seams.
Stitches, reinforcements, closures: the areas of attachment
Handles, straps and anchor points are expensive. This is where quality is evident after a season: clean stitching, reinforcements at the corners, protected closures. A good repair service (or in-store service) saves you from having to put a pad on the bucket for a strap that has come off.
Also consider checking the information on recalled products: when a manufacturer corrects a series, it is often on a loop, a seam, or a closure.
Aging of foams: shrinkage, cold, UV
A compressed foam changes the actual design of the crash pad: more padding, less stability, more fatigue. Cold can make some foams shrink, humidity can slow down the return, and UV rays age the shell. Store flat and dry, and don’t leave your crash pad in the car in the sun.
To objectively measure performance, the UIAA international federation defines a testing framework based on a head injury criterion with a target HIC value of 400 to determine a «critical height.». UIAA standard for crash pads
Durability is security: a sliding envelope or a broken strap changes the reception.
The critical areas are the corners, the closure, and the carrying anchors.
Good repair service prolongs the quality of use, and therefore your outings.
And indeed: if the pad is uncomfortable to wear, you end up going out less… and you take more risks by trying to go on for «one try».
Lifting and folding: ergonomics that change usage
Belts, waist belt and center of gravity
The carry-on isn’t just a gimmick: it’s your consistency. Straps that don’t bunch up, a waist belt that stabilizes, quick adjustments: all of this reduces fatigue. A good customer service should be able to guide you in choosing the right size based on your body type, especially if you’re also carrying enough gear for a day of climbing.
In some stores, Chullanka offers advice on this point: try it on, walk, move your arms. Your crash pad should remain «attached» to your back.
Folding: monobloc, taco, accordion, hybrid model
Each folding method imposes a compromise. The taco favors surface continuity, the accordion facilitates transportation, and a hybrid model attempts to balance the two. Again, «comparative» does not mean «universal winner»: your terrain decides.
Make a parallel with a comparison of the best alpine skis: the right choice depends on the terrain, style, and your tolerance to fatigue during the day.
Internal organization and transport safety
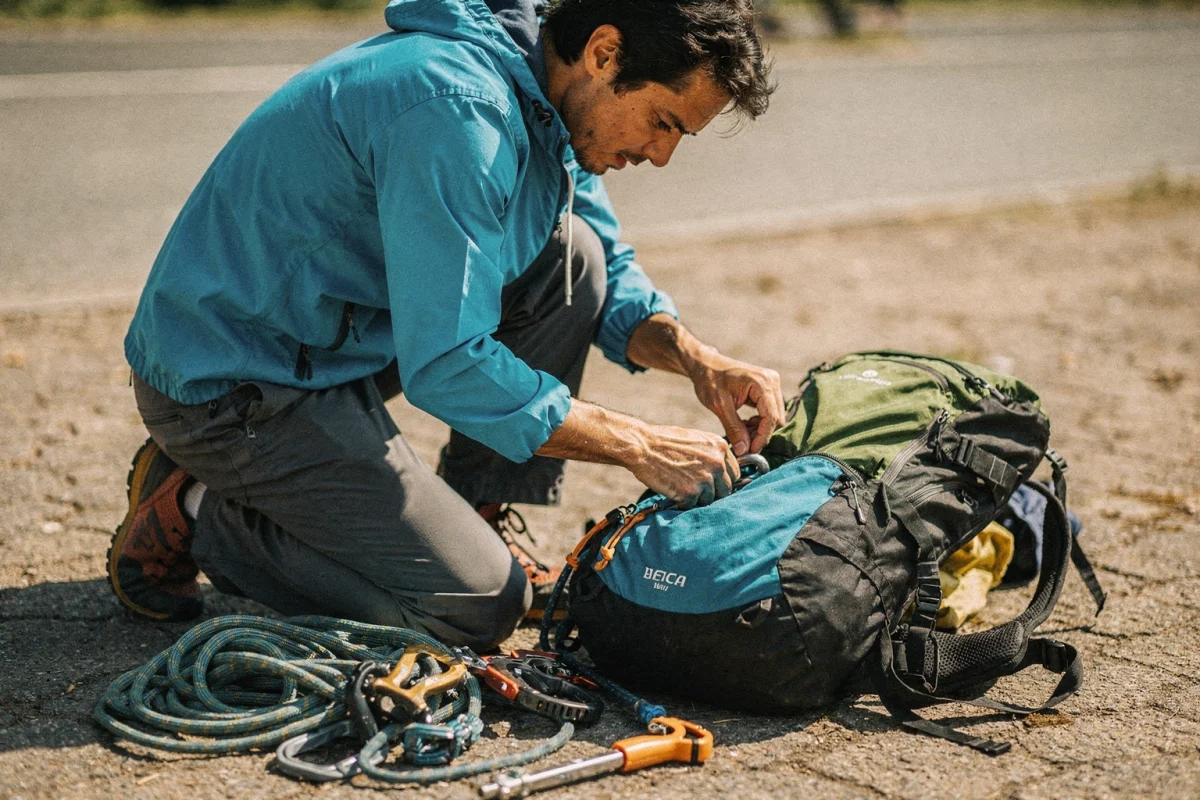
Packing shoes, magnets, a brush and a small pouch is convenient, but be careful of internal friction. Make sure the pad closes securely (straps + loop), to protect the pads. In canyoning, you learn to secure everything that hangs down; in climbing, the same logic applies to avoid getting caught on the way up.
Useful tip: the thicker you get (often between 8 and 15 cm), the more carrying becomes crucial to continue going out regularly. Depth marks for outdoor crash pads
A crash pad that fits comfortably is more often used: this is an indirect safety gain.
Choose the folding method according to the terrain, not according to the ease of driving.
The service (adjustment, repair, parts) has been part of the performance for several seasons.
To make a decision without getting lost in the technical details, there is one more step: measuring what you feel.
Measuring performance: simple tests, field metrics, frequent errors
Simple and reproducible protocol
You don’t need a laboratory to compare. Fix a landing point, place the crash pad on realistic terrain, then reproduce a controlled fall (feet together, knees flexible). Observe: landing, rebound, rollover. If you want to understand how the «official» tests work, the UIAA defines methods with a HIC threshold of 400 to establish a critical height. UIAA standard for crash pads
Ground indicators: rebound, heel-toe contact, lateral stability
The rebound is noticeable when you «rebound» on your own after impact. The ground is firm when you feel the hard surface under the foam. Lateral stability is noticeable when one foot sinks more than the other when leaning in. Also note the effect of the edges: some crash pads become treacherous when you land at an angle.
Test junction and common errors
Voluntarily test the hinge area and the junction between the crash pads. Many injuries occur on «details»: a rock under the hinge, an uncovered gap, a poor folding sense. When you observe a bad reception, don’t change everything: first correct the placement and alignment. This is a tip that field ambassadors repeat, because this is often where confidence returns.
| Symptom upon receipt | Probable cause | Quick correction | What it changes |
|---|---|---|---|
| Feeling of «touching the ground» | Shrapnel or rock under the impact zone | Remove the hard part under the pad, add a covering | Less load peak in the ankles |
| Rebound that makes you feel dizzy | The mousse is too «creamy» for your fall | Move towards a more progressive area, smooth the edges | More control, better precision |
| Pad that tilts | Flat ground, hollowed out at the center | Alignment with flat stones, repositioning | Lateral stability, less torsion |
| «Dangerous» gap in the middle | Exposed hinge, poorly covered joint | Cover the junction, change the orientation | Less hard fouls, better continuity |
Test the edges, hinges and junctions: this is where crash pads differ.
A correction in the price can beat an impulsive buy.
Measure stability, not just comfort.
You now have verifiable criteria. Let's finally answer the questions that come up most often in stores, including at Chullanka.
FAQ on crash pad design
What foam reduces sagging without rebounding?
A layered architecture with complementary densities. A distribution layer limits the brutal descent, then an absorption layer manages deceleration without overshoot. On the ground, validate the feeling: if you climb up «on your own,» the rebound is too pronounced for your climbing style. If in doubt, ask for advice and test the load, not with empty hands.
Which hinge limits the risk of a central gap?
The best hinge is the one that remains neutral under load and does not create any points of contact. Look for a surface continuity, especially on uneven ground. In practice, check the connection by placing the pad on small irregularities: if the slot «creeps in,» it will be more prone to trapping. A good service in-store should show you this test.
What size should I choose for high blocks and slopes?
Start with the usable surface, not the height of the block. When you are descending, the fall often goes far from the rock: place the receiving area where you will end up, not where you are climbing. For a highball, combine surface and edge stability. If you are climbing with children, increase the surface margin and simplify the junctions.
How to avoid gaps with multiple mats?
Cover the joints; do not place edge to edge. Stabilize the bottom before stabilizing the top: remove the pebbles, fill in the gaps, then slightly overlap the crash pads. If a joint remains exposed, add a small dedicated mat. This is a very practical advice that Chullanka often emphasizes, and that is worth more than a «thicker» pad.
When to replace a pinched or deformed pad?
When the design no longer does its job: frequent warping, shifting on the same terrain, edges that collapse in an irregular manner, or the envelope that loses its grip. Replacing does not always mean throwing away: a repair service can save straps, closures, and stitching. But if the foam has lost its elasticity, the quality of reception will not return.
To make decisions quickly, keep this guiding principle in mind: design must first stabilize, then absorb.


Summary: priority design decisions
- Prioritize gradual absorption rather than sheer thickness, especially if you fall off balance while climbing.
- Secure edges, junctions and hinge areas: these are the points where reception deteriorates.
- Adapt the dimensions and usable area to the actual terrain (slopes, crossings, exits), not to a product sheet.
- Optimize carry and folding: a comfortable crash pad comes out more often, and your confidence increases with repetition.
The right crash pad isn’t just one that «dampens well»: it’s the one whose design puts you back in control, reduces rebound, and remains reliable season after season. If you’re unsure between a rigid design, a hybrid model, or a more continuous format, start with your terrain and typical falls. Conduct a mini test, ask for advice in-store, and aim for quality that lasts. That’s how you climb more relaxed, more often, and more properly.
 Français
 English (UK)


