

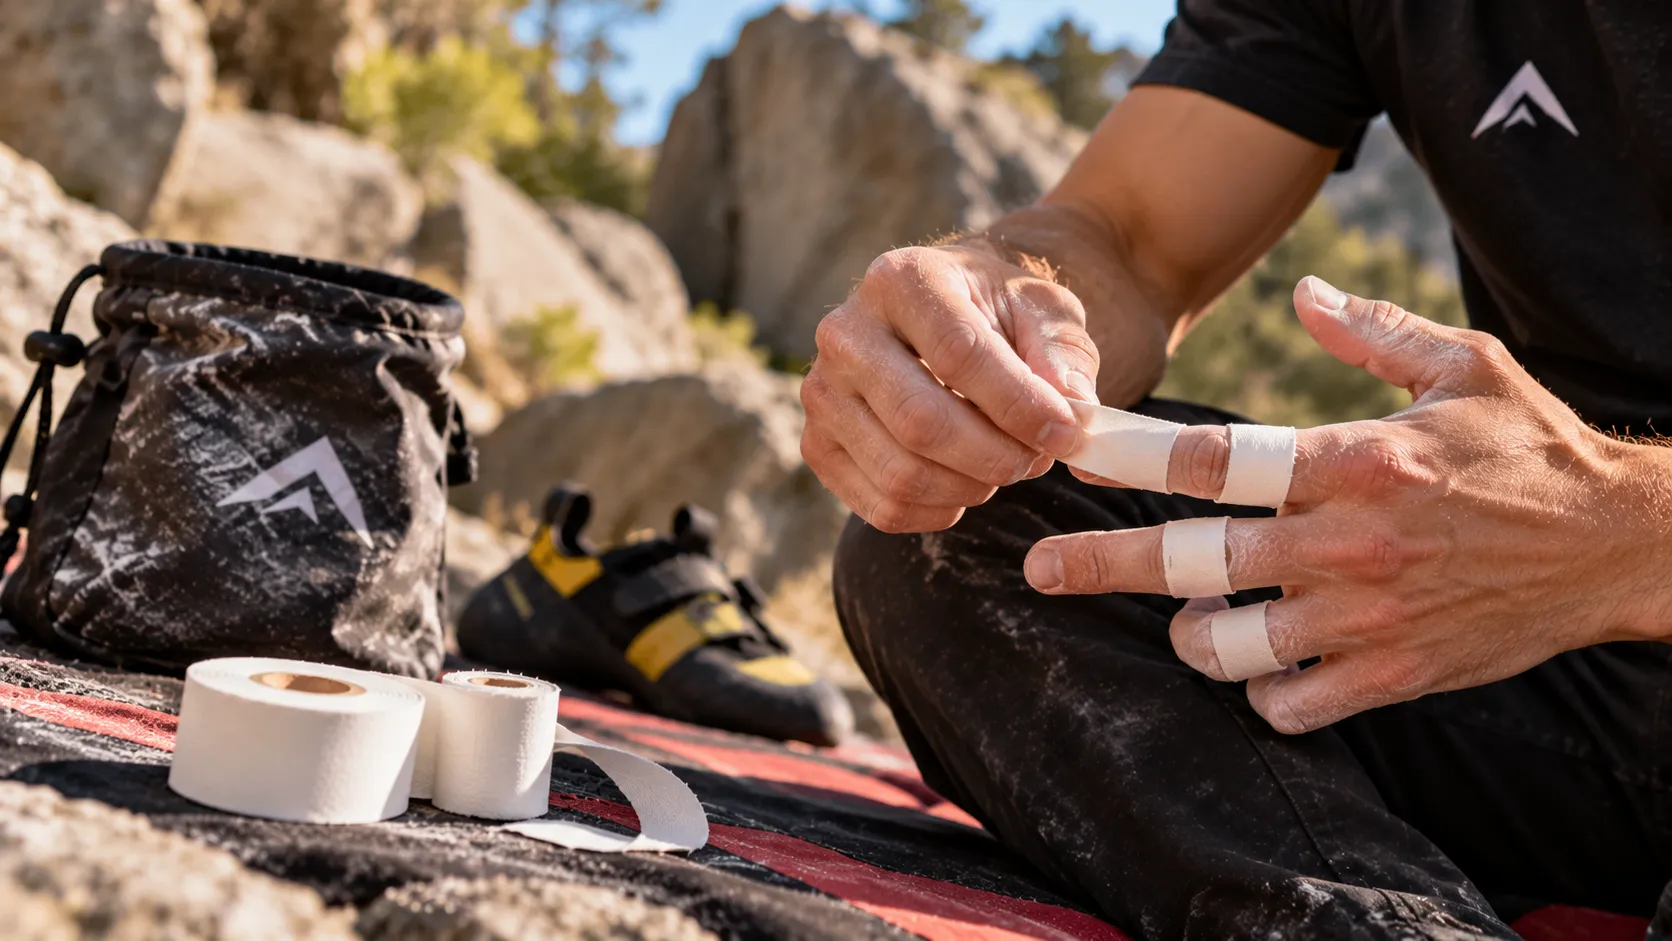
Climbing tape: useful and safe application methods
Increasing injuries are often linked to repetition, with a reported incidence of between 2.7 and 4.44 injuries per 1000 hours in a recent review. Epidemiology of Musculoskeletal Injuries Among Climbers (2026)
Hello: If you go with “feeling”, you lose time, grip, and sometimes the mobility that makes the difference.
In this article, Snap Climbing, you will learn a simple, reproducible and practical method to protect your skin, relieve pain, or secure a sensitive area without getting trapped in an unnecessary strap. To quickly choose your band and accessories, also check out our accessories for climbers.
The essentials in thirty seconds
Place the strap on clean, dry skin, in a neutral position, and immediately test for circulation and range of motion.
Choose a band according to the purpose: skin (protection), pulleys (support), articulation (guidance), and nail (stabilization).
The effective strapping is controlled: moderate tension, proper coverage, rounded edges, replacement as soon as it slips.
Validate on holds (tensioned, arched, bidoigt) before attacking a hard route.
Before sticking any tape, you’ll achieve more consistency: a neat installation takes less time than it would to “do it yourself”.
Prerequisites: prepare your strapping so that it truly serves its purpose
Equipment, time, limits and a good time to strape
Effective climbing strapping starts with the right equipment; otherwise, you’ll end up repeating the same mistakes over and over again. Plan to have a non-elastic strap roll, a pair of scissors for neat finishing, and a small dry cloth. Add a fine blade to handle skin that sticks poorly or a nail edge to cut the tape.
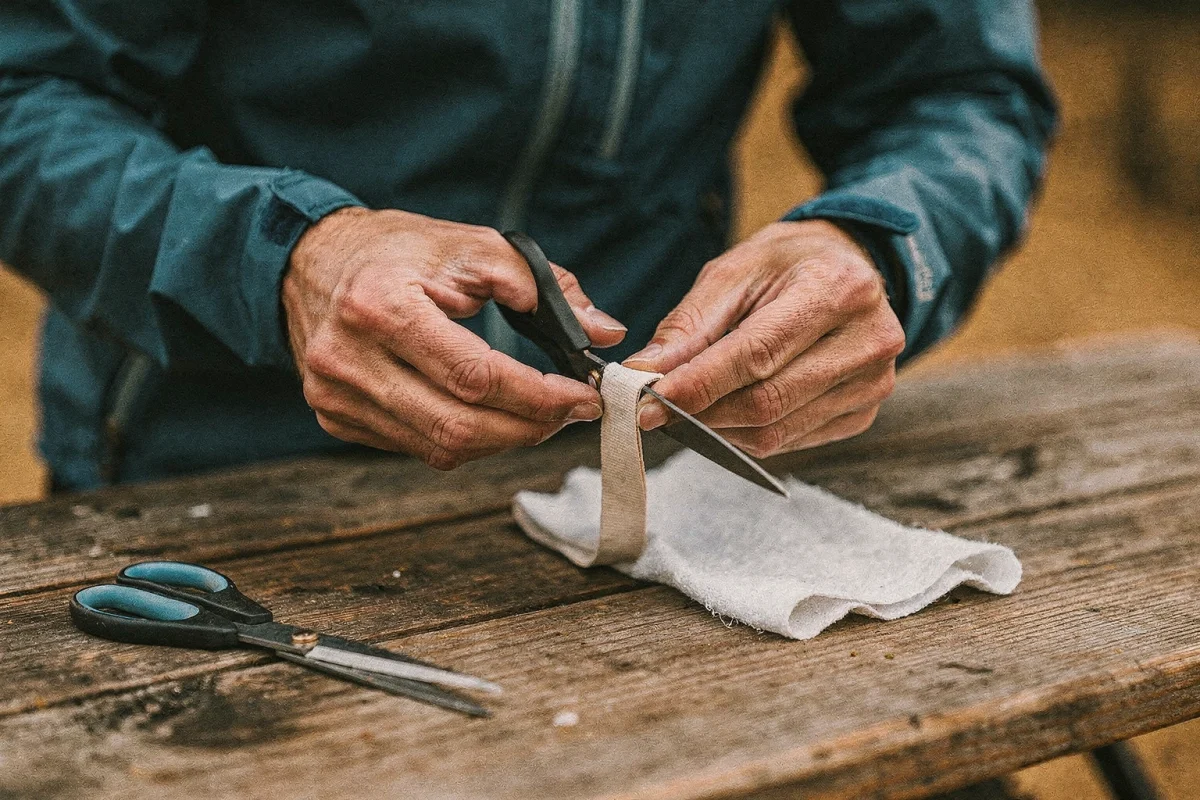
In terms of timing, stretch when your fingers are warm, but not swollen. The most reliable option is after the specific warm-up (easy lifts, light suspensions), just before increasing the intensity. After a very hard attempt, the pose often holds less well because the skin is wet and the sensation changes.
Keep a simple rule: if the discomfort becomes less bearable after strapping, or if your grip sensation deteriorates, you have tightened too much or positioned it incorrectly. The tape helps, but does not replace a long recovery when the tendon or joint is irritated.
Checklist before installation and priority objective (skin, pulley, articulation, nail)
- Dry skin, no cream, and no excess magnesium that “grits” the adhesive.
- Short nails, glued edges: a sharp angle can cut the tape.
- Mobility maintained: you must be able to close and open the finger without blocking it.
- Normal sensations: stable heat and color, no tingling.
Before choosing a technique, formulate your goal in a single sentence. Protecting a torn pulp has nothing to do with supporting pulleys, guiding an articulation, or immobilizing a cracked nail. Without a clear goal, you often end up with a strap that covers “completely,” but is “partially” useful.
Aim for a single intention per finger: protection, support, or stabilization.
Take it off warm and immediately check the mobility and sensations.
Once your prerequisites are in place, the real benefit comes from choosing the right tape: width, adhesive, rigidity, and skin comfort.
Choosing the climbing tape suitable for your use
Width, stiffness, adhesive: what really changes on the rock and in the room
The width is chosen according to the area and the precision of the placement. A thin strip allows you to target a phalanx without overpressing on the joint. A wider strip is practical for the skin (pulpa, fissures), because it distributes the friction more evenly. Keep this in mind: the more you look for “support,” the more precise a placement is needed, not a wide strip.
Stiffness and glue make the difference in real-life conditions. In indoor training, sweat and grip resins can cause mediocre grip. In the mountains, the cold makes your fingers stiffen and the glue may lose its tack if you handle the roller with wet hands. Choose a material that sticks quickly and remains stable when you fold your hand.
| Need for escalation | Recommended band | Advantage | Warning point |
|---|---|---|---|
| Skin protection (pulp, shavings) | Large, non-elastic | Reduces abrasion, limits “steaks” | Can interfere with the sensation if too thick |
| Targeted support (pulley area) | Fine to medium, very stable | Precise positioning, proper coverage | It is unnecessary to pose with the joint in flexion. |
| Sensitive skin, irritation | Coarser glue, or a fine undercoat | Better skin tolerance | Risk of slipping if the underlay is smooth |
| Cracked nail | Fine, easy to cut | Stabilizes without being too thick | Compression should be avoided |
Skin tolerance and allergies: deciding quickly without worsening the irritation
If you have extreme sensitivity, monitor for redness and local warmth. A skin reaction is not uncommon when you often pull the tape off, especially if you tear it off too quickly. In this case, use a tape with a less aggressive adhesive and space out the applications over the same area.
A point that many overlook: if you consume tutorials or comparisons, also look at the “cookies policy” and “legal terms and conditions” pages of the sites you visit, especially if you leave comments or videos. This doesn’t change your behavior, but clarifies your usage and what you share.
Choose the band according to the goal, not according to the partner’s habits.
If the skin reacts, adjust the glue and frequency before increasing the number of layers.
After the tap is chosen, the stance plays a hundred percent on the preparation: clean, secure, and positioned in the axis.


Prepare skin, nails and adhesion for a strap that holds
Clean, dry, round: the actions that prevent the fabric from tearing
Wash your hands quickly, then dry them thoroughly, including the creases. Avoid applying to skin that is already covered in cream. Also limit the use of magnetic products just before application: they can create a “dust” effect and break the adhesive. If you have already applied magnetic products, wipe them off and re-apply them very lightly afterwards, not before.
Round off the corners of the band. It’s a detail, but it significantly reduces the edges that rise during locking. If you’re protecting a fragile area, you can add a very fine interface, provided it doesn’t slip. On open skin, the goal is to protect from friction, not to “fill in” with an over-thick layer.
Neutral position and circulation test: validate before going over the last point
Position yourself in a neutral position; neither your thumb pinched in the arch nor your wrist hyper-extended. A pose performed in a strong flexion loosens when you open your hand, then tightens when you close it again. This is the best way to experience tingling at the wrong time.
Immediate, systematic testing: close and open your hand, then pinch an imaginary trigger. Check for warmth, color, and sensitivity. If you feel numbness, coldness, or a “blueish” sensation, remove it and start over. This simple check prevents you from entering a spiral where you compensate with your shoulder and load more than you need.
A proper shave starts with dry skin and rounded edges.
Neutral position, then circulation and amplitude testing before the first lane.
Once the skin is ready, you can apply reliable setups: few turns, a lot of control, and a load logic.
Apply the essential strapping modes (without losing the sensation)
Type A2 pulley support: controlled cross-winding
Pulley injuries are frequently cited in recent surveys among climbers, and Zone A2 is a classic reference point in medical and field discussions. BMJ Open Sport & Exercise Medicine (2026)
For a “crossed” assembly, anchor the band to the phalanx, then pass it diagonally on both sides of the joint, returning to cross at the center. The idea is not to block, but to guide and limit excessive opening under load. Moderate tension: Your finger must remain alive and mobile.
Flux: anchoring on the phalanx → diagonal passage to the joint → intersection at the center → opposite diagonal return → slight overlap → opening/closing test → adjustment.
Bidoigt, pulp protection and split nails: three very practical cases
The bidoigt (often the index finger) is used mainly when a tendon strain is better tolerated by distributing the load. Tie the two fingers together with a band that allows the joints to move. If you tighten too much, you lose the grip and your climbing immediately deteriorates.
For the skin (pulps, fissures, flakes), apply a protective layer that follows the folds. Avoid over-thickening on the contact area, otherwise you’ll “slip” on small holds. In the mountains, this type of protection can make a difference on long outings when the skin has no time to recover.
For a cracked nail, stabilize the plate without crushing it. The tape should prevent the nail from splitting, not compress it. If the pain becomes severe, remove it and make it lighter again.
The crossover aims to guide, not immobilize.
Bidoigt and skin protection work better with little material, placed well.
Do you want to apply this method right from the next session? Prepare your roller, scissors, and repeat the pose on an easy grip before increasing the intensity. Also discover our article on you need.
Wearing the right clothes isn’t enough: in a situation like this, sweat and temperature dictate the performance, and your replacement strategy avoids any unpleasant surprises.
Optimizing the strap's retention in real-life conditions
Adjust tension and grip according to sweat, cold, humidity
If you sweat, the trap is to tighten even more. This cuts off the sensations, then forces you to overcompensate. Choose a normal tension, but better preparation (dryer skin, rounded edges). In cold weather in the mountains, warm your hands before putting them on: cold glue “sticks” less well.
In high humidity, the tape can roll on itself at the edges. In this case, shorten the glued area and avoid unnecessary turns. A thin undercoat can help if you have irritation, provided that it does not turn the assembly into a slippery surface.
Replace during sessions, store clean, limit waste
Replace the tape as soon as the edges lift, the band slips, or the support is no longer noticeable. Don’t keep a strap “just to finish the session” if the sensation changes: that’s often when the pain returns.
Store your rolls in a place protected from heat and dust. Maintain simple hygiene: clean hands before resting, waste in a small bag, and no tape on the crash pad. It looks like a cleanliness manifesto, but it’s mainly the basis for the glue to stay even and for the material not to get dirty.
And keep the focus: no strap deserves to be used politically in the theater. The goal is to climb better, not to prove anything. This is a beautiful story when you progress, not when you insist on doing things your own way.
Attitude is gained through preparation and replacement, not through tightening.
A clean and well-stored roll sticks better and for longer.
Last step: verify that your setup will work with the plugs, without masking an alert signal, and decide when to stop.
Validation: safety, comfort and efficiency at charging points
Simple tests before the first track (and before the hard tests)
Before you start climbing hard, perform three tests: tension grip, arch grip, and light grip. Your range of motion should remain fluid. Your sense of contact should remain consistent. If you feel a noticeable loss of strength, take it off and do it again more carefully.
If you have ever experienced discomfort in your finger, consider using a “dummy finger” for light load exercises without forcing too much. The goal is to check that the assembly does not create a point of pressure that deflects the movement. During a training session, this control prevents you from going from manageable discomfort to lasting irritation.
Immediate adjustment matrix and warning signals
| Sign during the climb | Probable cause | Immediate adjustment |
|---|---|---|
| Itching, cold finger | Excessive compression | Remove, rest less tightly, test circulation |
| Rolling edges | Square angles, wet skin | Round off, dry, reduce overlap |
| Pain that increases with closure | Pose made in flexion, turning point | Resting in a neutral position, moderate tension |
| Glide on small fish | Excessive thickness on contact area | Refine, move the tape out of the support zone |
Warning signs: numbness, rapid swelling, coldness, discoloration that turns blue. If you experience a crackling sensation, acute pain, or a sudden loss of strength, stop the session and have it evaluated: some serious injuries can lead to surgery, with a long recovery afterward. The review on taping shows mostly limited and variable evidence: the strap may help some parameters, but is not a shield. To tape or not to tape: systematic review (2022)
Test on easy pitches: amplitude, sensation, then gradual ascent.
If an alert signal appears, the right choice is to stop, not take another turn.
If your strap still comes off in the same place, note when it happens (sweat, cold, type of harness) and adjust your preparation rather than adding layers.
FAQ climbing straps and adhesive tapes
Which strap to choose for a painful and sensitive pulley?
Choose a stable, rather thin strip with regular adhesive to apply precisely without excess thickness. Opt for a cross-guided assembly, not a compressive one. If the skin reacts, reduce the frequency of application in the area and avoid pulling it dry. If the pain changes in nature (sharp, brutal, with a loss of strength), stop and have it evaluated.
Does the strapping really prevent pulley breakage?
No, it does not “guarantee” anything. The strap can modify certain constraints and improve the feel of certain movements, but the literature shows uneven effectiveness depending on the setups and situations. The best protection factor remains load management: warm-up, progression, rest, and stopping if an alert signal appears.
How to remove the tape without pulling off the skin?
Remove slowly, along the skin axis, while holding the skin with the other hand. If the adhesive sticks too much, moisten slightly to remove it gradually. Avoid rapid tearing after a wet session: that’s when irritation appears. If you often tear, alternate the areas to allow the skin to recover.
Can I climb with an open wound that is properly protected?
Yes, if the goal is to protect against friction and the patch does not slip. Clean, dry, then apply a thin protective layer that does not create an excess thickness on the contact area. Test on easy-to-grab areas: if the tape moves, it will scratch the wound. In that case, it’s better to stop the session or change the grip style.
How many maximum turns without cutting off the traffic?
There is no universal number: the limit is your own sensations. As soon as you feel tingling, coldness, loss of sensitivity or swelling, it’s too tight. Look for the minimum effective: the least amount of material possible, placed in the right place, with moderate tension. A “thick” strap is not necessarily a useful strap.
The climbing strap is not a magic recipe: it is a technique of precision at the service of a clear objective. Prepare your skin, choose a consistent strap, position it in a neutral position, then secure it in place before you start climbing hard. If you maintain this discipline, the strap becomes a handy ally to protect, guide, and continue climbing without overcompensating. Next time, try just one setup; note what changes, then adjust.
 Français
 English (UK)


