

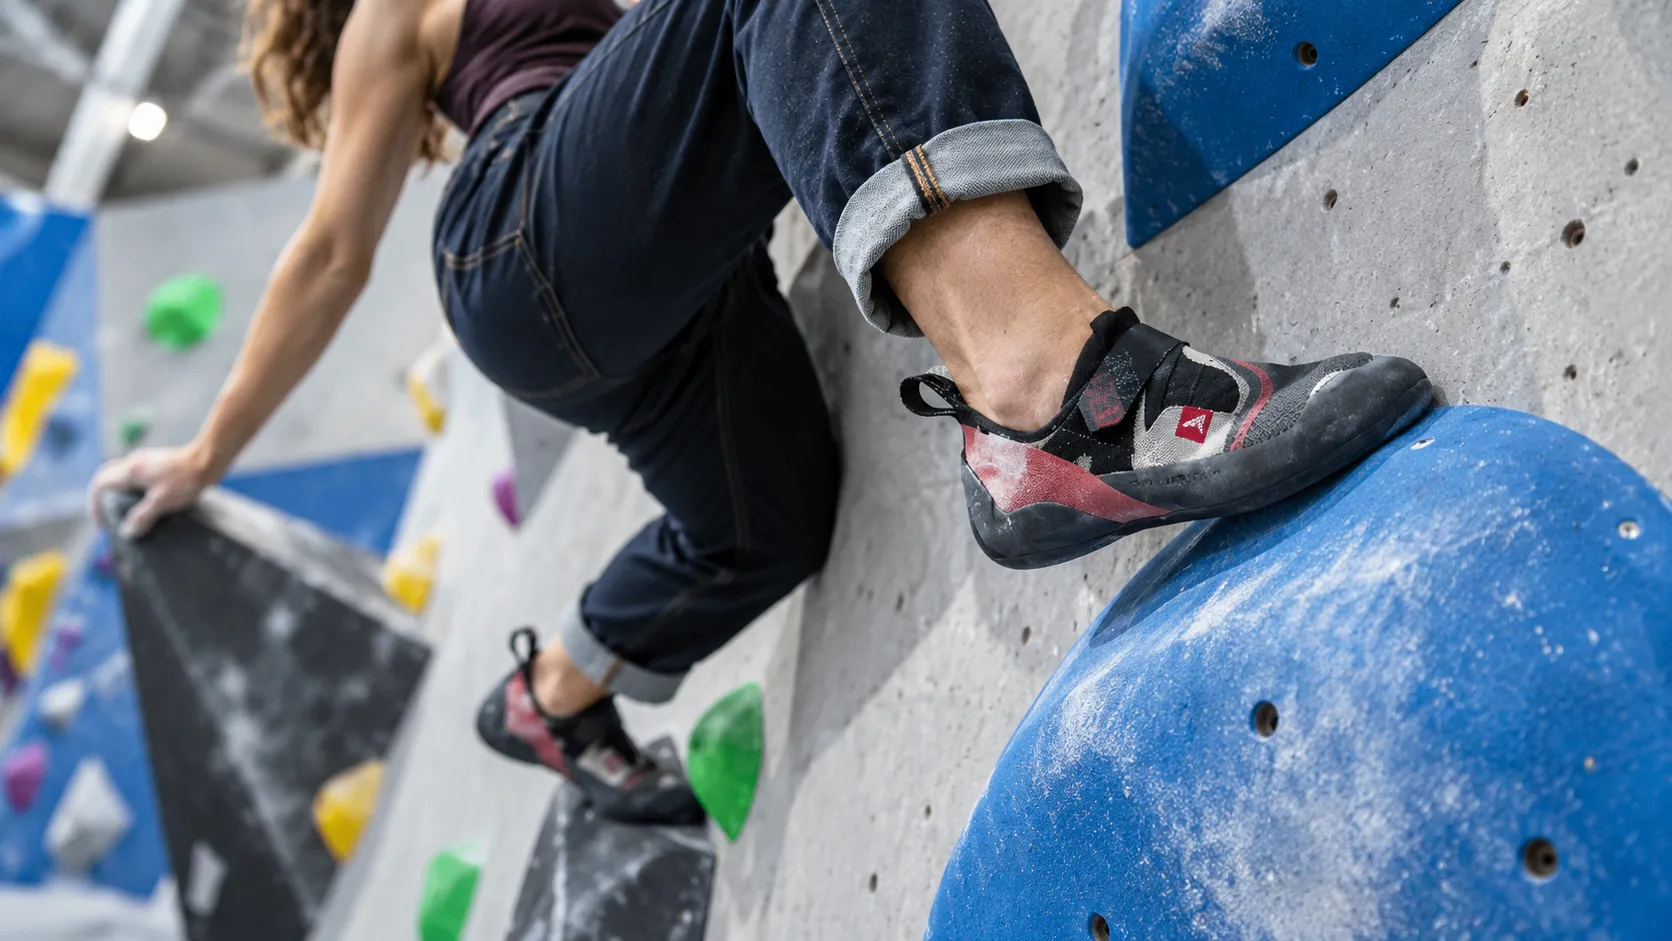
Footwear for the block: choosing the right pair, without unnecessary pain
According to the Climbing Observatory of the Union Sport & Cycle, 4 % of the French people practice climbing. In this context, the shoe has a “zoom lens” effect: a poorly chosen shoe quickly leads to feet that get hot, heels that float, and a progress that stagnates.
This guide provides a reliable method for selecting shoes for the block, both indoors and outdoors, with concrete criteria and simple tests. For a more general overview of the types of shoes and their uses, see our guide climbing shoes.
The essentials in a nutshell
Choose the fit (locked toe, useful tip) first, before the “trendy model”.
Adapt the shape (flat, curved, asymmetrical) to your block style and your toes.
In the gym, prioritize sensations, toe hooks, and sweat management.
Anticipate sustainability: it is better to use it properly and repair it early than to have to replace it.
Before we talk about form or gum, let’s secure our tests: this is where the majority of mistakes occur.
Prerequisites: preparing a useful purchase, not an “emotional” one”
Tools and access necessary for reliable testing
To choose slippers, you need a wall (ideally your living room), a small ledge to test the support, and a real moment of calm. Avoid trying on slippers “standing on tiles”: it does not reveal the pressure on the toes or the locking of the heel.
If you buy in store, ask to test it on a socket (even a simple plug). If you buy online, plan an at-home trial with controlled movements (upside down, flexion, torsion) without walking for a long time.
Estimated time and overall difficulty
A good choice does not require expert knowledge; it does require rigor. Your real difficulty is not “technical”: it is distinguishing the normal discomfort from a bad fit. The block amplifies everything, because you alternate short efforts, rest, then explosive efforts.
Room constraints versus outdoor conditions, and frequency
In the gym, volume exercises, resistance training and toe hooks require flexibility and precision in friction. Outside, the rock often imposes micro-supports and longer sessions, therefore requiring a different tolerance to comfort. Your frequency also matters: the more you climb, the sooner you will feel the hard spots.
Many gyms structure life around programming and standard formulas such as prices, subscriptions, adult year-long courses, children’s discovery courses, course outings, and even bus classes or climbing courses. This reality changes your needs: if you climb often, sustainability becomes a central criterion.
Realistic budget based on level and intensity
Stay simple: a first pair should be consistent, not extreme. “Too technical” costs you in pain and wasted sessions. If you climb little, you’ll mostly pay for comfort. If you climb a lot, you’ll mostly pay for rubber and wear and tear.
Foot checklist, skin, pain, specific goals
- Foot: width, volume, heel, thin or thick heel.
- Skin: areas that are hot, recurring blisters, sweating.
- Pain: Sensitive nails, Hallux, tight Achilles tendon.
- Objective: technique (positions), force (dives), precision (micro-strikes), coordination (modern blocks).
- Constraints: Exclusive room, mixed room-rock room, or occasional outings.
A useful test reproduces your actual block movements, not walking.
Your climbing frequency dictates the importance of durability and re-adjusting the setup.
Your technical goal should guide the form and the rigidity.
With these bases, you can clarify your needs before getting bogged down in the models.
Define your needs for the block shoes, based on your practice
Type of practice: beginner, regular, expert
Beginner: Your priority is to learn how to push off without strain. Aim for a supportive insole that doesn’t force you to “grab” the ground. Regular: You start to look for more precision and a stable heel. Expert: You optimize details (toe patch, torsion, heel) according to your style.
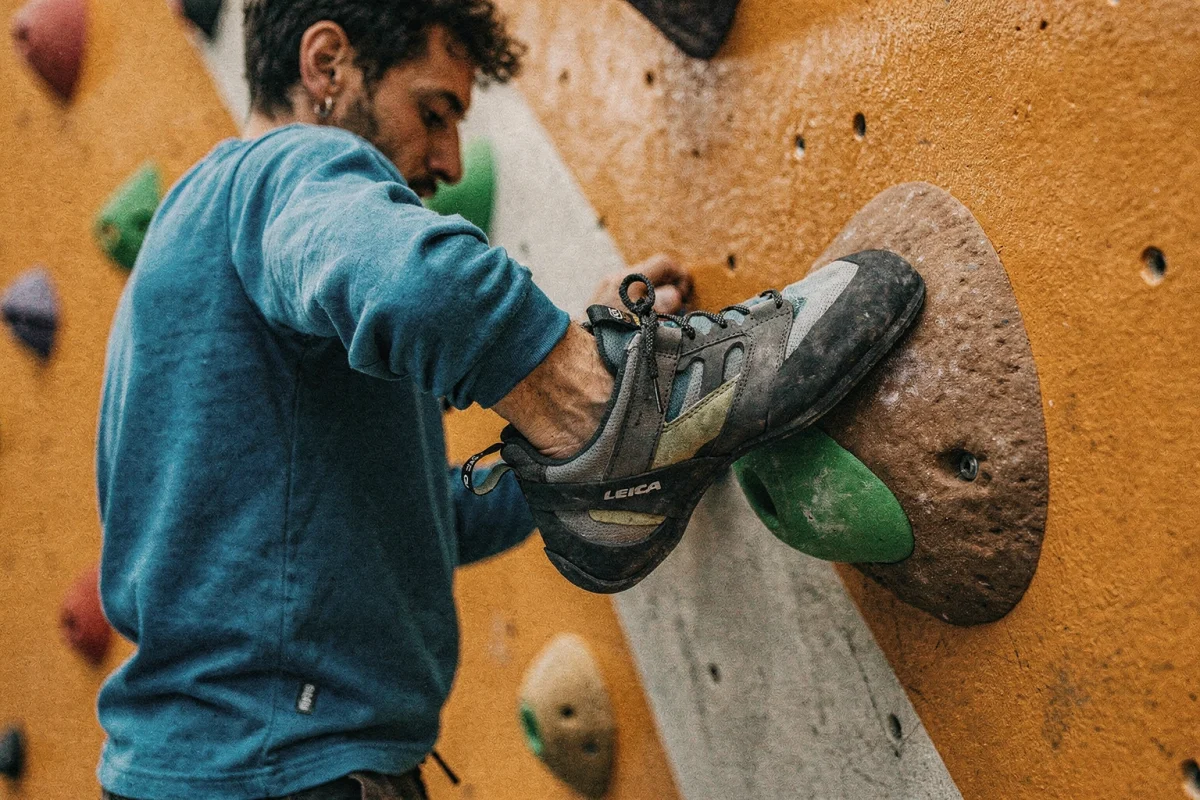
Styles targeted: tile, decors, coordination, toe hooks
Dalle: you need grip confidence and a legible tip. Dalles: the camber and asymmetry help you pull off small turns. Coordination: you want a boot that “rebounds” quickly and easily between turns. Frequent toe hooks: toe patch and tip shape become non-negotiable.
Priority to immediate comfort versus pure performance
The block is often climbed in sets. If you have to take off your shoes every two minutes, you lose energy and concentration. A useful performance is a repeatable performance. Keep the “pure performance” for a second dedicated pair.
Exclusive use of the room versus a mix of room and rock
Exclusive room: look for sensations, flexibility, and better friction grip on volume areas. Mix: avoid extreme flexibility, which can penalize micro-stroke grip on some rocks.
Goal of progression: technique, strength, precision
Technique: Proper fit and a legible sole are better than an aggressive shape. Strength: In the downhill section, the support and toe traction help, but only if your heel is locked in place. Precision: Asymmetry and a more “direct” toe can make the difference.
The good pair of boots isn’t the “most technical”, it’s the one that suits your style of running.
If you are undecided, opt for a sturdy fit and a versatile rock-climbing outfit.
Your priority should remain repeatability, not flashiness.
Once your needs are established, the shape should conform to your foot, not the other way around.
Free movement for an ultimate escalation…”


Choose a shape that respects your foot and your style of blocking
Flat shape: comfort and stable support
A flat shape makes it easier to learn the proper positioning of the feet. It distributes pressure more evenly and limits toe pain. It is often more forgiving during long sessions, and it tolerates more errors in placement.
Conical shape: traction and discharge
The cambrure “puts” the foot in traction position. In the downhill position, you gain grip on small slopes, because the force is concentrated on the front. In return, immediate comfort decreases if the fit or the volume are not precise.
Low, medium, high asymmetry: precision
The more marked the asymmetry is, the more the tip points towards a specific point. This is useful for slopes and embankments, but more demanding for tolerance. In modern concrete, an average asymmetry is often sufficient: you keep an effective tip without sacrificing repeated tests.
Compatibility with Greek, Egyptian, and square toes
Egyptian-shaped toes (dominant big toe): precision at the tip can be excellent, but watch out for boxes that are too narrow. Greek-shaped toes (second toe longer): watch out for hard spots at the tip. Square foot: you need volume at the front to avoid lateral crushing.
Matrix: foot shape vs. recommended shape
| Foot shape (dominant sensation) | Signals in trial | Form of slipper often adapted |
|---|---|---|
| Wide heel, forefoot “spread out” | Lateral compression, numb toes | Moderate asymmetry, wider toe box |
| Heel is long, heel is narrow | Talon that “pumps” on a hook | Deep and tight heel, more pronounced rear tension |
| Greek Ortils | Pain in the second toe at the tip | Less aggressive point, more homogeneous front volume |
| Egyptian Orteils | Very heavy big toe | Useful asymmetry, precise point, but no sharp point |
| Heel high | Pressure on the top, tingling | Adjustable tightening system, larger volume suitable |
The shape should suit your style (whether it’s a table or a sideboard) as much as it suits your morphology.
A floating heel ruins the hooks, even with a “good” tip.
Aim for balance: useful precision, acceptable comfort.
Form gives the intention. Size and volume give the result, or unnecessary pain.
Adjusting the size and volume: the real difference between “tight” and “just right”
Measuring length, width, volume and heel-to-toe
Length alone is not enough. Two feet of the same length can have opposing volumes. Note: width at the front, heel height, and heel depth. On trial, a sensation of “technical sock” is a good sign: contact everywhere, without aggressive folding.
Differences in shoe fit between brands and models
Every brand has its own patterns. Even within a range, two models can fit differently. Don’t turn a size into a dogma: rely on locking and pressure distribution. Take notes: what tightens, where, and in what motion.
Pain tolerance: what is acceptable in a block
A “present” toe point is normal. A numbness or severe pain is not. As a rule, you should be able to repeat the tests without struggling with your feet. A good guideline: you can stay focused on the movement, not on the burning of your toes.
Diagram: quick sizing decision tree
Flux: you put on the heel → the heel locks in without “pumping” → the tip is in firm contact without a point of cut → you apply pressure on a small relief → if the front part crumbles or folds, too much volume → if the toes collapse into “scissors”, too little volume or the box is unsuitable → you crochet on the heel → if it moves, change the heel or the tightening before reducing the size any further.
Test terrain: heel, toes, torsion
- Talon: Crochet on a raised surface; pull hard. If the heel slips, the fit is bad.
- Orteils: Stand on the tip of your foot. If one toe takes all the weight, look for a more even tip.
- Twisting: simulate a volume placement. If the sole “warps” too much, you lack support.
Do you want to apply this method? Try it on two different block styles (slab and trough) and just note what you feel in the heel and toe area.
Reducing the size does not correct a poorly designed heel for your foot.
Good form is seen in movement, not in static position.
“Living” pain is a sign of error, not of performance.
Once the size has been determined, the tightening system becomes a real tactical choice for the block.
Fastening and retention: choose according to your tests, not according to habit
Velcro: quick adjustment between tests
Velcro is most convenient in a single piece: you can take it off, put it back on, and adjust it quickly. This is ideal if you alternate short runs and recovery. The hold is often very good if the volume matches your foot size.
Laces: precision and specific volumes
The laces offer fine adjustment, useful on difficult feet (high instep, asymmetrical forefoot). In their pure form, they may be less practical if you often take your shoes off. But they remain formidable if you’re looking for a “custom-fit” fit.
Slipper: sensations and flexibility
The slipper provides immediate sensations. It blends well with the traction on the sole and the volumes. It requires a compatible foot: if your heel is thin, you may lose grip. Always check the hooks.
Locking the heel: priority for hooks and dynamics
In modern footwear, an unstable heel costs you trial and error. Look for a rear shell that conforms without hard folds. If you feel a “gap,” change the model rather than trying to force the fit.
Warnings: pleats, hard spots, seams
The folds in the front create friction zones and bumps. The internal seams become blades with repeated use. Try a simple test: bend your foot. If a hard spot already pricks you, it will prick more strongly against the wall.
| System | Strengths in a nutshell | Limits |
|---|---|---|
| Velcro | Fast, good overall performance | Less fine adjustment on atypical heel-to-toe adjustment |
| Laces | Precise adjustment, good for specific foot volumes | Less practical if you get into a lot of trouble |
| Slipper | Feelings, flexibility, ideal smears | Requires perfect fitness, with the heel sometimes being more delicate |
As a whole, the speed of adjustment counts as much as the maintenance of it.
The heel is a disqualifying criterion if you do hooks.
A hard spot in the trial becomes rarely “magical” afterwards.
When the grip is good, the sensation on the pedal depends mainly on the rubber compound, the sole and the stiffness.
Rubber, sole, rigidity: finding the balance between sensations and durability
Soft rubber: grip and fine sensations
A soft rubber “glue” works better on volume and helps with friction placements. In return, it wears out faster if you tread on it or if the floor is very abrasive. For many indoor climbers, this is the most reassuring choice.
Hard rubber: durability and longevity
A firmer rubber grips the edge better and resists abrasion more effectively. It may seem less tolerant of pure grip, but it serves its purpose if you weigh more, if you press hard, or if you climb outdoors for long periods.
Fine versus thick sole: readability
Thin sole: sensations and precision, but requires proper placement. Thicker sole: support and tolerance, useful if you’re just starting out or looking for stability. In general, the trend tends towards more “aggressive” soles, but that’s not a rule.
Flexible versus rigid footwear: smudges and edging
Flexible: best on smears, volumes, and “tight-fitting”. Rigid: best on micro-shots, sharp edges, and long rock sessions. The right choice depends as much on your technique as on your blocks.
Micro-tip: if you slip on the ice, first suspect your footwear fit and the cleanliness of the rubber before changing your shoe.
Softness = sensations and grip, but wear faster if your foot rubs against it.
Rigid = support for micro-businesses, but less “binding” for volumes.
Your technique can compensate for a bad fit, not a bad grip.
The modern block then imposes specific requirements that many underestimate when buying “general purpose” equipment.
Meeting the requirements of the modern block (volumes, toe hooks, powerful hooks)
Toe patch: useful if your toe hooks are frequent
An effective toe patch protects the toe and improves grip at the tip of the boot. If your gym offers a lot of coordination drills, you’ll feel it immediately. Without a toe patch, you can succeed… but you’ll work out faster, and you’ll lose confidence in certain movements.
Advanced form: Grates and volumes
On gratings, a structured tip and controlled asymmetry help to “aim”. On volumes, a too aggressive tip can, on the contrary, reduce the contact surface. Look for a tip that remains legible when you press your foot down.
Deep heels: stable hooks
A deep and well-fitted heel limits the heel lift. Test it in traction, but also in lateral “compression”. Some heels hold on when pulled up, but float on volume when compressed.
Flexibility in torsion: quick placements
Twisting makes for quick turns, especially when you’re turning the foot on a turn. Too much twisting can cause you to lose grip on the handlebar. The ideal is enough flexibility to “live” and enough grip to push.
Sweating in a heated room: hygiene and grip
When the room is warm, the internal humidity increases, and so does the feeling of slipping. A clean sole and a well-draining insole count for a lot. For some, a thin sock makes a big difference in hygiene, but it changes the volume.
Toe patch and heel are essential “modern block” criteria if you crochet often.
The tip should be readable in both volume and size, not just aggressively.
Managing humidity affects your grip.
If you want to progress without getting hurt, comfort is managed as an adaptation, not as a gamble.
Comfort, skin, progress: staying on the climb without sacrificing your feet
Progressive adaptation strategy over several sessions
A new pair of sneakers “fits”, but they should not hurt you. Alternate: easy blocks, then a little more intensity. Disengage as soon as the pain distracts you. You’re looking for precision, not heroism.
Socks: yes or no
Without socks, you gain in sensations, but you sometimes increase friction and moisture. With a thin sock, you improve hygiene and limit some blisters, but you must plan accordingly. The right choice is the one that allows you to wear them in a proper manner.
Prevent bulbs, black nails, tendon pain
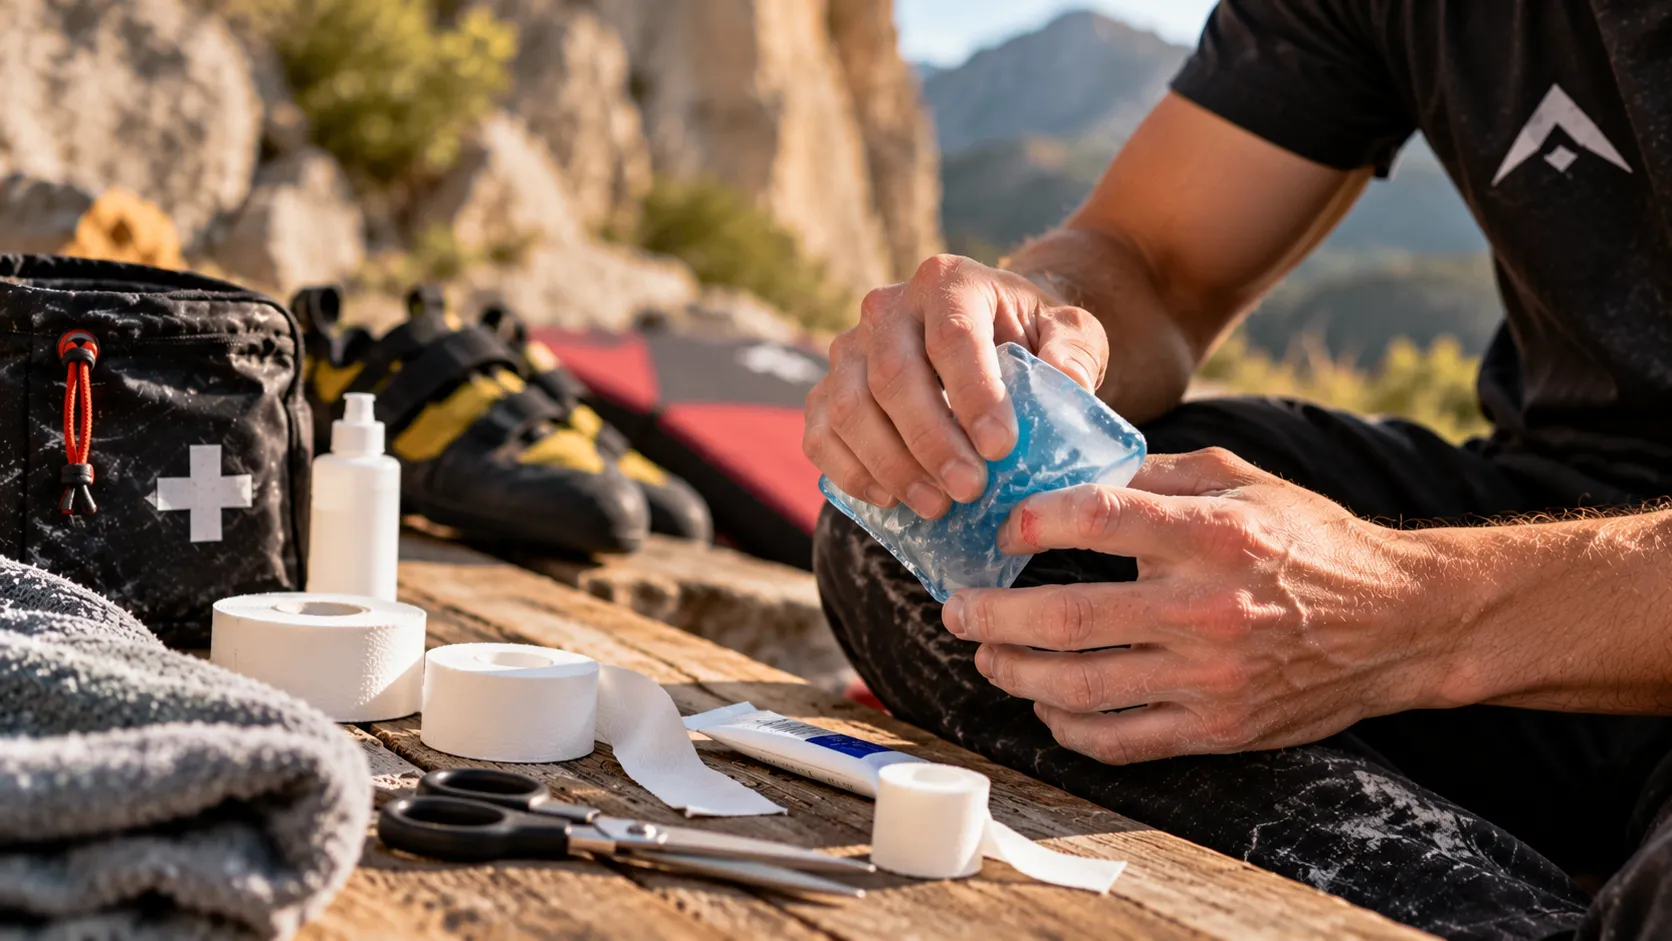
Ampoules: often linked to an internal fold or a heel that moves. Black nails: excessive frontal compression, especially in the arch. Tendon pain: too aggressive camber for your mobility, or too long sessions with a too tight shoe.
Choosing for children: growth, maintenance, and security
For children, the priority is pain-free support and ease of putting on. The goal is not performance. A shoe that is too tight can discourage practice. Keep an approach that is simple, especially if the child alternates between climbing and activities like Pilates or strength training.
Common mistakes: too small, too technical, too flimsy
Too small: you lose the trial quality; you get tense and jump up sharply. Too technical: you pay in pain for what your level still doesn’t “repay”. Too soft: you slide on small holes, you compensate with power, and you get tired quickly.
The good slipper keeps you focused on the gesture, not your toes.
Black bulbs and nails are signs of fitness, not a fatality.
For children, comfort and safety come first.
When comfort is factored in, you can optimize durability and overall cost, especially if you climb frequently.
Sustainability and total cost: use better, replant at the right time
Pair rotation: preserve shape and eraser
If you climb frequently, alternating between two pairs helps maintain a stable form and allows you to dry better between sessions. It’s not a luxury; it’s a way to limit the constant crushing of the tip of the boot and the deformation of the heel.
Detect wear before the hole
Watch the front (leading edge) and the outer edge. As the rubber thinnes, your grip becomes blurred and you start to “eat” the tire. At this point, you lose precision and the cost of repairs increases.
Resembling: when, for whom, interest
A relining is profitable if the structure of the mattress is still sound. According to the FAQ SemelleGrimpe, A well-maintained pair can be resembled three to four times In many cases, this completely changes the buying logic when you climb frequently.
Cleaning and drying without deformation
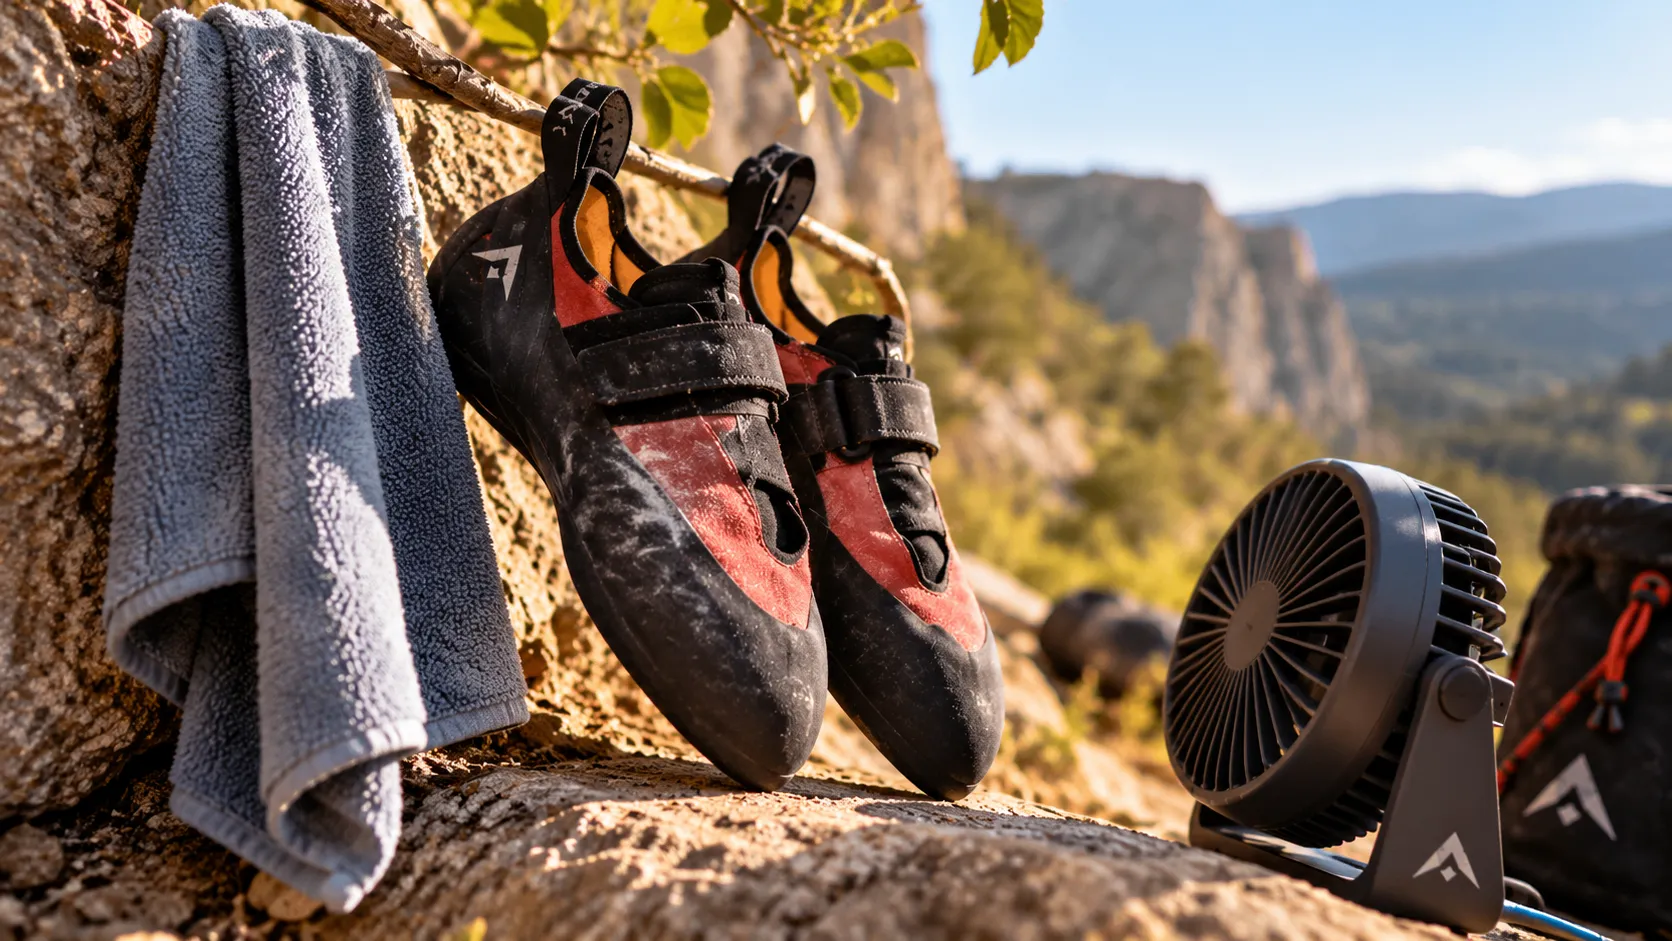
Avoid direct heat. Air dry, open the tire valve, and remove the inner tire if it exists. Clean the rubber regularly: dirty rubber slides, and you wrongly blame it for “poor grip.”.
Calculating the cost per session: a simple method
Instead of counting “per month,” think in terms of usage: frequency, the weariness of the room, the cleanliness of your investments. A pair that lasts longer, or that wears down early, may cost less in equal use, even if it is more expensive to buy.
Early pruning protects the stem and preserves the original sensations.
The cleanliness of the rubber directly influences your perceived grip.
The “real cost” depends mainly on your frequency and your support technique.
After defining the usage, it remains to be purchased intelligently: trials, feedback, and modern traps.
Buy today: trials, returns and pitfalls of automatic recommendations
In-store trial protocol: an effective routine
Test three actions: support on small relief, grip on smooth surface, heel hook. Do it in conditions close to the block: pressure, release, removal of the insole, and re-test. If the salesperson pushes you towards an extreme, bring the discussion back to your feet.
Online shopping: limits, exchanges, cross-size purchases
Online, your best ally is a clear exchange policy. Check the return and refund conditions, and keep the product in perfect condition during the trial period. If you’re unsure between two sizes, go for the consistent volume at the heel and the ankle, not the “crushed toe”.
Recommendation AI: What it really knows
An automatic recommendation can help sort patterns, but it doesn't take into account your weaknesses or strengths. Use it as a filter, never as a decision. Your heel test and your torsion test remain the truth.
Prioritize the fit rather than the “trendy” model”
A very popular model may not be suitable for your heel or toes. The modern block emphasizes shoes that are quick to put on and effective in hooks, but your foot imposes its own constraints. Performance does not compensate for a moving heel.
Buying plan: first pair, second pair, specialization
First pair: Versatility and controlled comfort. Second pair: More precision, or more flexibility depending on your style. Specialization: Only when you know exactly what you’re missing (toe hooks, micro-picks, heel drop).
In-store, test the support, grip and heel: that’s non-negotiable.
Online, the quality of returns is as important as the price.
An automatic recommendation does not replace your on-the-go test.
The final step is to validate on the wall and correct it quickly, before pain or slipping sets in.
Validate your choice during the session: simple tests and quick corrections
Checking in real conditions: precision, pain, slip
Your validation must be pragmatic: do your supports feel better? Does your heel hold its shape? Does the pain decrease after warming up, or does it increase with every attempt? Repeated slipping can be caused by dirty rubber, but also by a too-large insole that “floats”.
Test on key movements: block, dump, volume, heel
Do a varied mini-course: a turn in the grip, a turn in the descent, a movement with volume, then a controlled heel hook. You are looking for a clear reading: where the foot pushes off, where the heel pulls off, and if the tip “responds”.
Warning signs: numbness, tingling, foot floating
Numbness: Inappropriate volume or shape. Excessive torsion: lack of support, especially if you edge out too much. Floating heel: poor locking, and therefore unstable hooks. Fix it quickly: change the tightening, the shape, or the volume, rather than “getting used” to a structural defect.
Matrix: common problems leading to simple corrections
| Symptoms in a lump | Probable cause | Quick correction |
|---|---|---|
| Talon that slides in a hook | Talon too wide or too shallow | Change the heel model, or switch to a more adjustable tightening system |
| Severe pain in one toe | Too narrow tip or internal point | Try a more uniform box, and revise the shape for your toes |
| Adhesive slip on volume | Stained rubber, too rigid sole, pinched foot | Clean the gum, test for more flexibility, work on the release of pressure |
| Blurred support on a small ledge | Too soft sole or too large volume | Test a more structured sock, check for any creases on the front |
| Ampoule on the heel | Micro-internal movements | Change the heel, adjust the tightening, check the seams |
Expected results after adjustment
After an adaptation phase, you should feel measurable improvement: more precise placements, more stable hooks, and reduced fatigue on the supports. If the pain increases or you keep jerking without stopping, that’s not “normal”: it’s a bad compromise.
Validate on various movements: grip, heel lift, volume, heel.
A floating heel does not “correct” itself through willpower.
If the pain gets worse from session to session, change your strategy.
Finally, here are clear answers to the questions that most often come up from climbers who want to progress in a consistent way.
FAQ climbing shoes for the block
What size should I choose to progress without getting injured?
Aim for a size that puts the toes in a firm contact point, without numbness or pinched points. As a whole, you should be able to repeat the tests without losing concentration. If your heel moves, do not “descend” blindly: change the shape, volume, or tightness. The right size is confirmed by the heel hook and the support.
Soft or hard rubber for the block room?
For the hall, a softer rubber often helps with grip on volume and on smooth pitches, therefore providing better perceived grip. A harder rubber holds better on edging and wears out less if the hall is abrasive. If you are just starting out, prioritize confidence and sensations. If you climb very often, also consider wear and relubrication.
Velcro, laces or slippers: which to choose for the modern block?
Velcro if you are a frequent exerciser and want quick adjustment. Laces if your ankle or foot volume requires fine adjustment. Slippers if you are looking for maximum comfort and flexibility, provided the heel is perfectly locked in place. The modern block emphasizes toe hooks and stable heels: the system must serve these functions.
Can you wear socks in the block room?
Yes, if they are fine and your sock keeps its shape well. Socks can improve hygiene and limit some friction, especially in a warm room. The risk is that they will distort the size: if the sock becomes too “big”, you lose precision and heel. Test it in real life before making a decision.
Do I need a different pair for rock and indoor climbing?
Not necessarily, but it’s often useful if you climb a lot. In the gym, you use the toe hooks, volume and torsion more. On rock, you sometimes need more support and better hold on micro-cracks. A versatile pair is enough for mixed use. A second pair becomes relevant when you identify a clear limit.
What is the main risk if you choose too tight “for performance”?
The risk is to climb sharply, to lose your sensations, and to compensate with strength. This can also favor blisters, painful nails, and tendon pain. In a block, the useful performance is the one you repeat trial after trial. A slightly less extreme, but stable and precise shoe often makes progress much better.
You’ll choose your running shoes better by treating the purchase as a movement test, not just a size recommendation. Prioritize fit (heel and toe), then adjust shape, firmness, and stiffness to your style. A consistent pair will save you from having to try on “real” shoes, so you’ll see progress. Note your sensations regarding grip, heel-drop, and hooks, then immediately correct any warning signs that appear.
If you are looking for a gum mentioned in the discussions, you will often come across five ten and its stealth gum: keep in mind that marketing never replaces a good fit. And when comparing models, especially compare your foot in motion.
 Français
 English (UK)


