

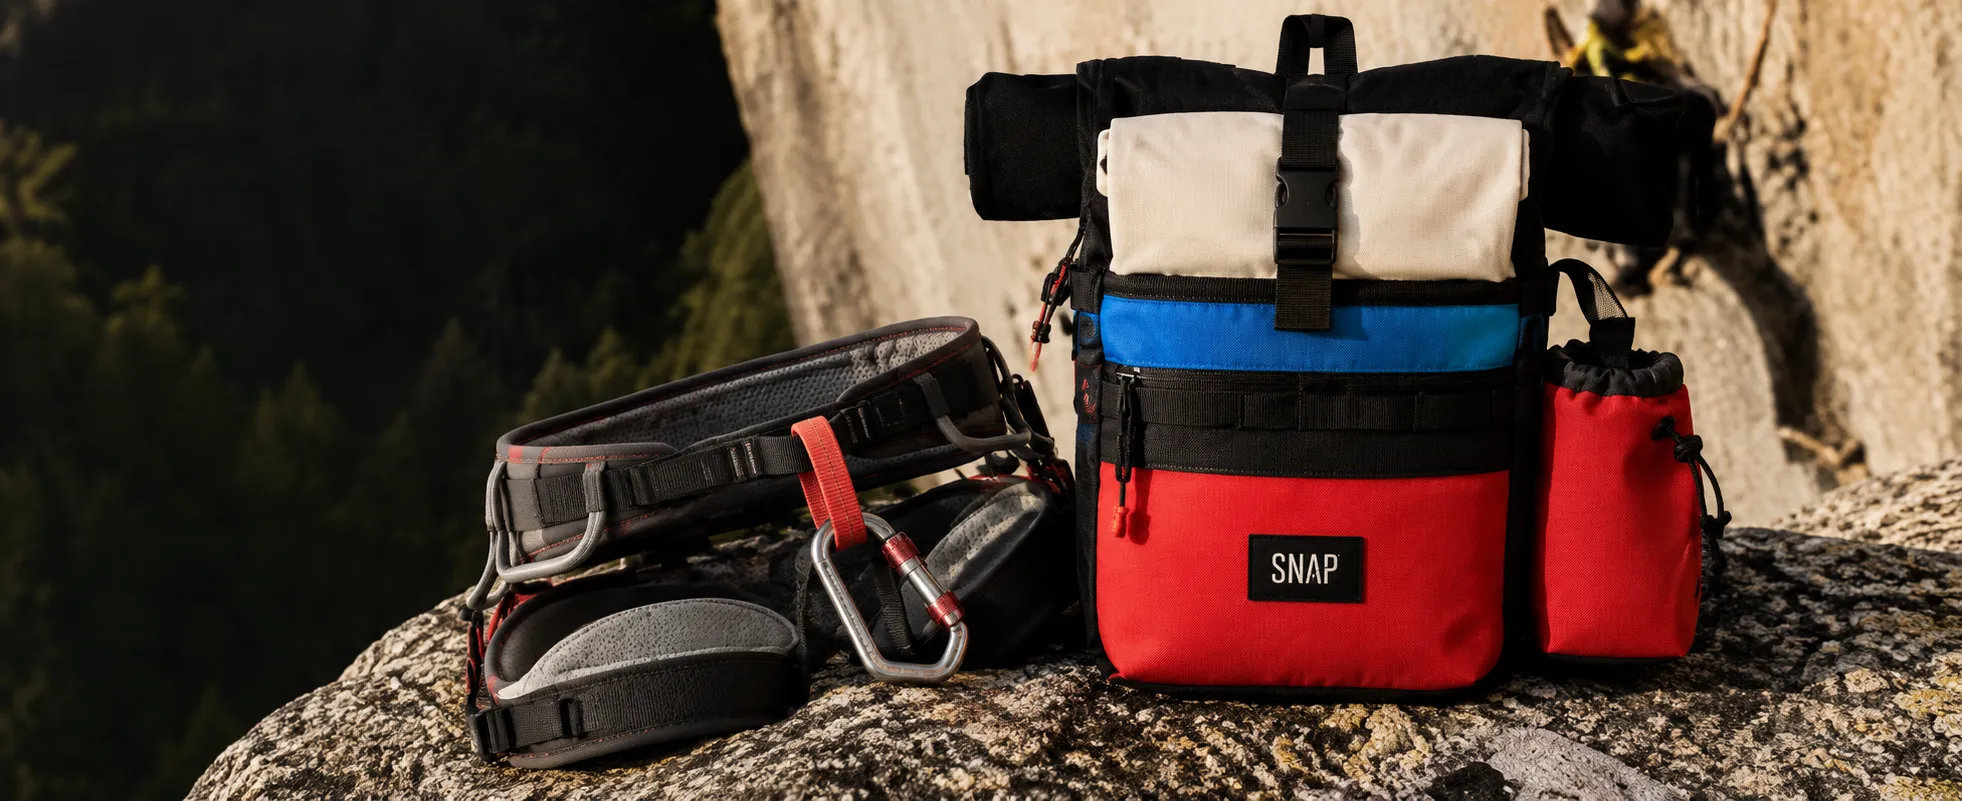
Belt climbing harness: why an adjustable belt changes everything
A well-adjusted harness can transfer about 80 % of the weight to the hips rather than letting it pull on the shoulders, which changes your fatigue from the moment you start walking. In climbing, this detail becomes strategic: you arrive more stable, more lucid, and you maintain control as the terrain moves. In this guide, you will learn to place and adjust an climbing harness precisely, organize your gear, and make micro adjustments between steps, pitches, and lengths. To locate the formats and uses, also browse our climbing bags.
The essentials in 30 seconds
An adjustable belt is primarily used to transfer the load to the pelvis, not to “tighten it too much.”.
The right placement is made on the Iliaic crests: if it goes up, it slides down and you compensate with your back.
Winning setup: belt first, then straps, then drawstrings and compression straps.
On unstable terrain, the belt becomes a tool of stability and safety, just like your compression straps.
Once the idea of the transfer is understood, let’s look at what happens when the belt isn’t up to par.
Portage challenges for climbers and approach walking
Fatigue, stability and posture: the signals that cannot be mistaken
Without support on your hips, your pack “pulls” at the top. You tighten the straps, the trapezoids burn, and fatigue sets in before the climb even begins. On an easy traverse or a steep trail, the pack tilts and you lose your balance. It’s subtle, but it consumes your energy and your concentration.
Long-term comfort is even more important if you keep going out. An unsuitable fit is easy to spot: straps that pinch, a feeling of crushing on the upper back, a bag that presses against the lower back, or the constant need to “re-pack” the bag while walking. On unstable terrain, this lack of control can become a real safety issue, especially if you’re also wearing a helmet, ropes attached, and gear hanging down.
If your shoulders carry “everything”, the belt is not doing its job.
A bag that rolls on the trail or in a ditch indicates a placement that is too high or too low.
Your posture is an indicator: if you lean forward, the bearing is not balanced.
These problems have a simple solution: a truly adjustable climbing harness that can be used as a support point.
Belt climbing backpack: measurable benefits
Load transfer and efficiency over long distances
An effective belt transfers a large part of the load to the pelvis. Specifically, you reduce pressure on the shoulders and trapezius muscles, you breathe more freely, and you walk more “straight”. You also gain stability during easy rock climbing steps, when you progress between the blocks, or when you need to maintain precision when descending.
Flux: pack load → harness/back → belt → hips → legs (instead of “everything on the straps”).
To avoid compensating with the back, keep a global load reference as well: for a light outing, a frequently cited reference is to aim for a pack around 10 % of body weight, and up to about 20 % in a more aggressive mode. In climbing, the goal is not the “ultra-light” performance at all costs, but the management of weight and placement.
The key benefit is the transfer to the pelvis, not the compression of the abdomen.
The longer the approach is, the more the belt becomes a factor of performance.
A stable harness leaves you with the clarity to climb and use safety techniques.
You also need to adjust the belt at the right place, depending on your body type.
Free movement for an ultimate escalation…”
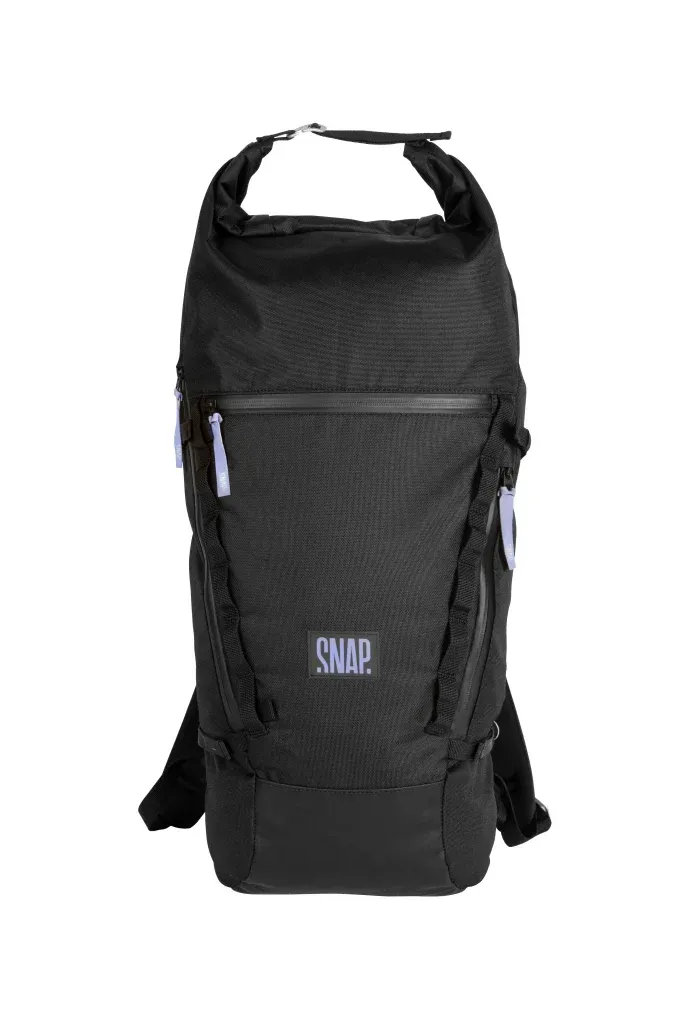
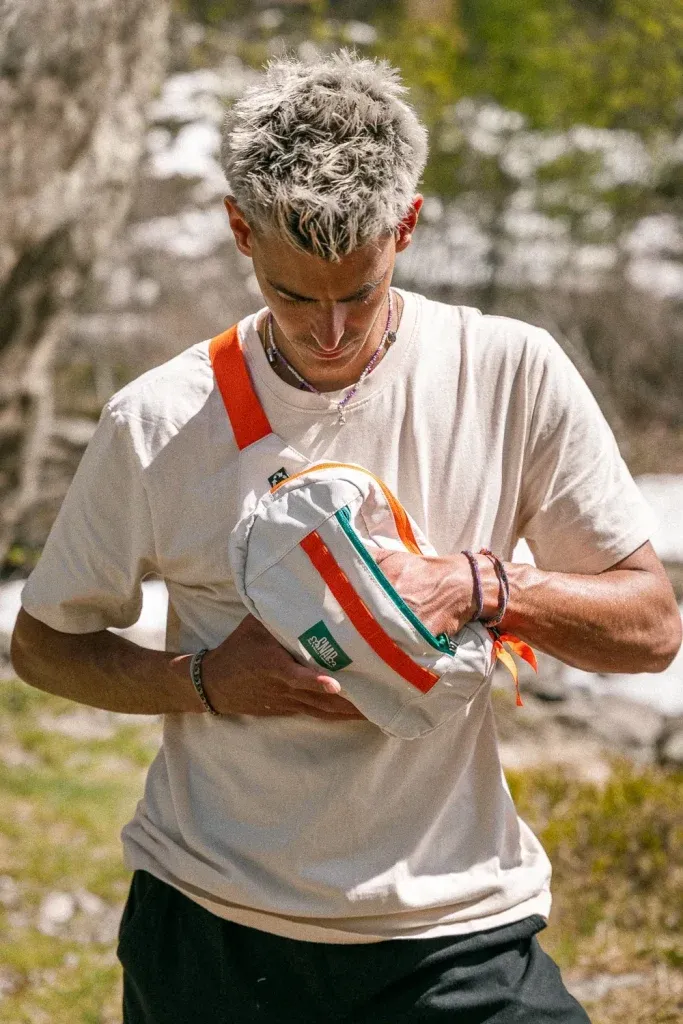
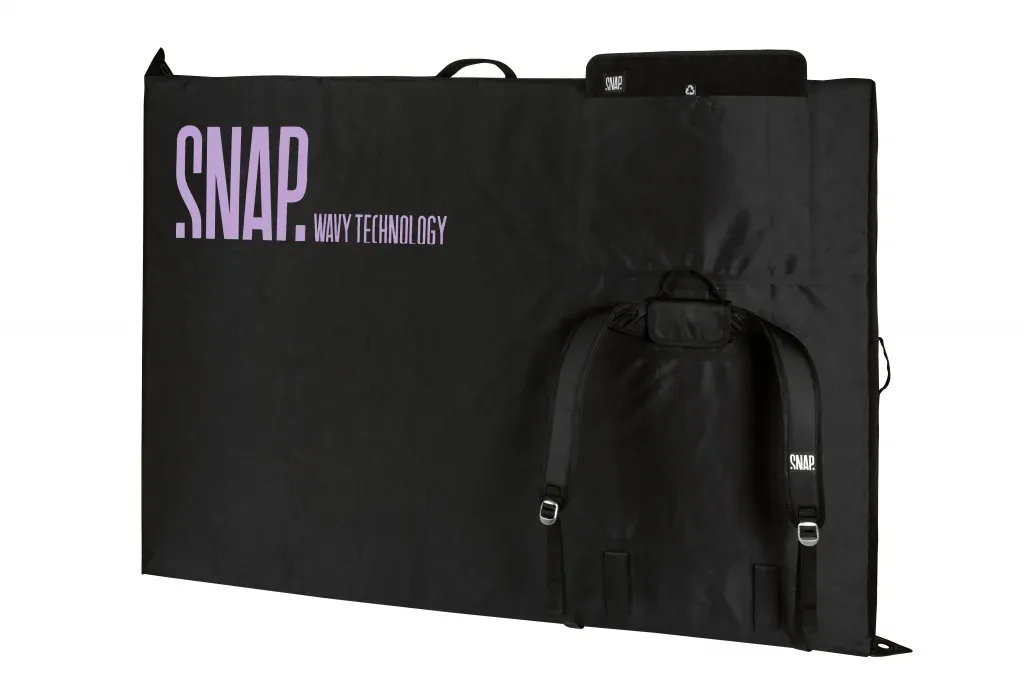
Morphological landmarks for precise adjustment
Placement on iliac crests, clothing, friction
The right placement is on the iliac crests (the “hips bones”). If the waistband is too high, it rises towards the navel and interferes with breathing. Too low, it slips, and you lose support. On thin hips, opt for gradual tightening and a more enveloping waistband. On marked hips, check especially for the absence of hard spots at the ends.
With a windbreaker or a down jacket, keep some room for adjustment: the waistband should be able to tighten without forcing on the buckle. Managing friction is a specific issue: on soft fabrics, excessive tightening causes irritation. On the bone, an incorrect angle creates a sharp “hot spot”.
- The belt covers the upper thighs, not the belly.
- You can inspire deeply without blocking.
- When walking, the bag does not roll up and does not press on the lower back.
Now, let’s apply these benchmarks using a reproducible method.
Step-by-step adjustment for secure carrying
The simple method that avoids 90 % of the mistakes
A proper adjustment always starts with resetting your straps. Otherwise, you compensate for a poor starting point by tightening them too much, to the detriment of comfort and safety.
- Unravel all the straps (straps, belt, suspenders, compression straps).
- Put the bag on and place the belt on the upper thighs.
- Tighten the belt gradually, without compressing the abdomen.
- Adjust the straps until they are in a stable position, without “wearing” the bag with your shoulders.
- Tighten the load-retaining straps to bring the bag closer to your back.
- Finish with the compression straps to limit the movement of the equipment.
In an escalation context, consider compatibility with a harness and a waist belt: if the bag’s belt overlaps the harness area, you lose comfort and access to equipment. On a long journey, quick adjustment between a relay length and the next approach avoids unnecessary wear.
Non-negotiable order: belts, shoulder straps, pads, compression.
A well-adjusted belt stabilizes the bag, even if your straps remain “flexible”.
If it interferes with the harness, adjust the belt height before tightening it further.
Do you want to apply this method to your own configuration? Take a full test at home, pack your bags, and then fine-tune it over 10 minutes of walking.
The adjustment is not enough if the internal load is not positioned correctly.
Weight distribution and bag organization
Limit the swaying and keep control
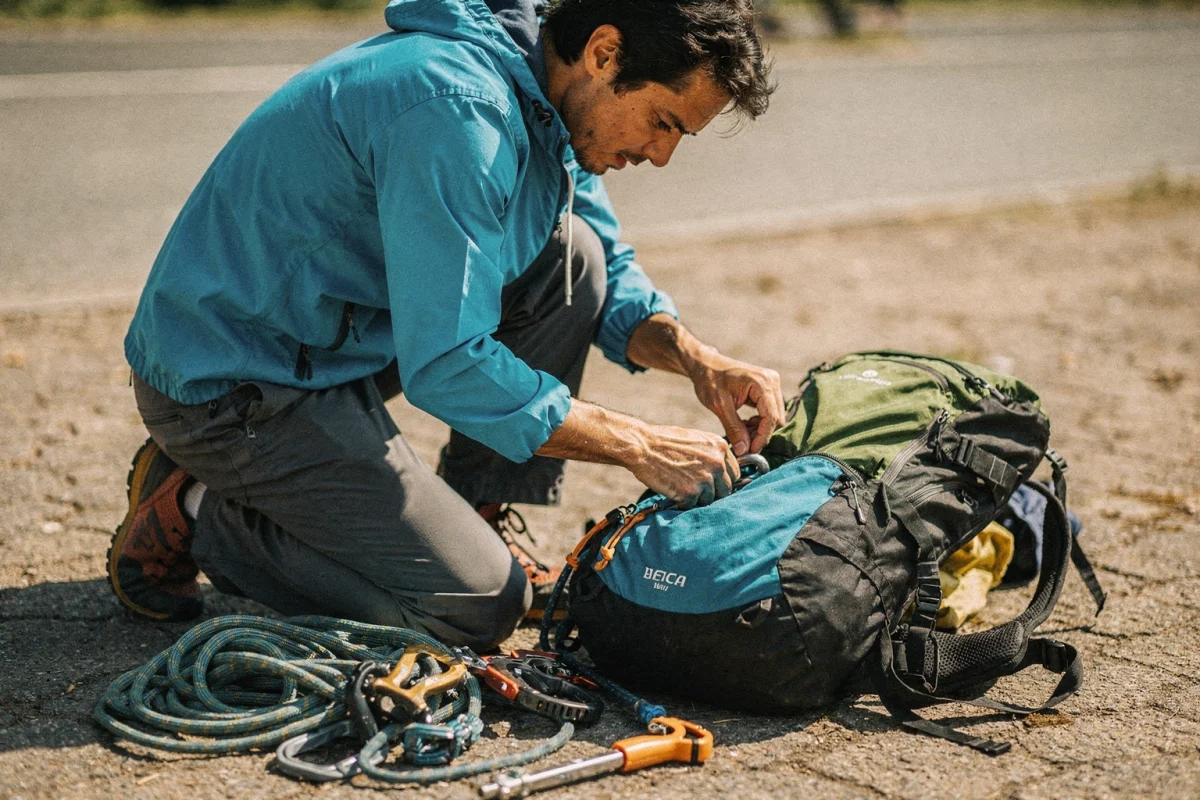
Your most cost-effective rule: place the mass close to the back and in the center. A rope or shoes too far from the back creates a “lever” effect and pulls you backward. Use the compression straps as a control tool, not as a decoration.
Rapid distribution: heavy (near the back, middle) · medium (around) · light (top and periphery) · dense and hard (protected, without protruding corners).
| Symptom in progress | Probable cause | Immediate adjustment |
|---|---|---|
| Bag that swings with every step | Charge too high or too external | Bring the heavy part of the back closer + tighten the compression straps |
| Trapezius pain | Waistband too loose, straps too tight | Tighten the belt then release the straps slightly |
| Lumbosacral point | Object poorly placed | Move the object, protect it with textile, and recompress it |
| Waist that goes up | Too high placement or rear load | Lower the belt on the hips + bring the mass closer to the back |
The shifting is often resolved internally before the straps are adjusted again.
Compression straps are your allies in unstable terrain.
Think “near center of gravity”, especially if you are wearing ropes together.
A stable backpack should not take your breath away: breathing management is part of the setup.
Respiratory comfort and heat management
Tighten just enough: breathe, ventilate, avoid irritants
A belt that is too tight restricts the diaphragm’s range of motion. The result: you hyperventilate, overheat, and strain on the uneven terrain. Conversely, if it is too loose, you lose your hold and compensate with your shoulders.
Adjust the tightness to your cardio rhythm and the weather. In hot or humid conditions, anticipate the hotspots: loosen slightly, roll up a garment to avoid a crease, and better distribute the load. In mountaineering, thermal management is even more sensitive, as the effort varies continuously.
Warning signs to be observed: numbness, nausea, persistent localized pain. On an engaged route, these signs can impair your control and increase the risk of an incident, therefore of distress and rescue.
When breathing is free, you regain mobility, which is just as important as comfort.
Mobility and safety on the climbing terrain
Wire compatibility, freedom of movement, quick adjustments
A climbing harness should allow your hips to work. On a descents, a rappel, or a trail that winds through the trees, you need amplitude, not a “corset”. Simple test: take big steps and do a hip rotation. If it pulls, it’s too high, too tight, or the foam is too rigid for your morphology.
Compatibility with harness and waistbelt: whether you clip on equipment, manage lengths, or switch to silent treadmill mode, you want to access your straps and loops without interference. Adjust in two steps: walk (hold tighter), then climb (belt slightly loosened to avoid interfering with the harness).
| Situation | Recommended tightening level | Objective |
|---|---|---|
| Rolling approach | Moderated | Comfort + load transfer |
| Pierrier / unstable terrain | Farm | Stability + control of the bag |
| Easy passage on rock | Closed, but breathable | Balance + freedom of movement |
| With the harness in place | Slightly relaxed | Compatibility + absence of hard spots |
To “choose well”, you must then look at the belt itself, not just the volume of the bag.
Choosing a truly adjustable ventral belt
Specific criteria: loops, foam, rigidity, durability
An adjustable belt is judged by its range of adjustment and precision. If the buckle slides, you lose the hold. If the straps loosen, you spend time adjusting them. Look for a reliable model with a buckle that is easy to manipulate, even with cold hands.
Width and padding don’t mean “big cushion”. Too soft, it crumbles and gets hot. Too rigid, it creates a point of contact. Aim for a compromise: firm support, regular contact, clean seams, foam that doesn’t flatten too quickly. Durability is also evident in the areas of traction, where the straps work.
| Climber profile | Type of support recommended | Why |
|---|---|---|
| Long approaches + dense charge | Structured belt, fine adjustment | Transfer to the lower back, less shoulder fatigue |
| Block + frequent access to the bag | More flexible waistband, quick adjustment | Comfort during movement, quick donning/ditching |
| Long coat + often worn harness | Contoured waistband, not intrusive | Compatability with shorts, fewer conflicts with equipment |
| Mixed practice of climbing and mountaineering | Robust belt + reliable loops | Frequent adjustments, weather constraints, safety |
Buying tip: load the pack, walk around, do some squats, then try an “walk → climb” adjustment. You’ll soon see if the belt follows your terrain.
Once the belt is chosen, the practical questions always come back to the same theme: tighten just enough, at the right time.
FAQ: ventral strap for climbing bag
How tight to squeeze without disturbing breathing?
Tighten until you achieve a firm and stable contact, then check for a deep breath. If you block the air or the lower abdomen is compressed, loosen by one notch. The correct setting allows the pelvis to carry without turning the belt into a tourniquet. On steep ascents, a micro-loosening can improve the effort without losing control of the pack.
How to dress with a thick jacket in winter?
First adjust with the thickest layer, then test the tightening margin when removing the vest. If the strap hits against the vest, the adjustment range is too short. In alpine practice, anticipate the variations in layers to maintain support without hard spots, and without losing time in the relay.
What to do if the strap slips up?
Lower the belt on the iliac crests, then bring the weight closer to the back. A “back” pack pushes the belt up. Also check the rappel straps and the compression: if the pack forms a compact block, it moves less. If the loop slips through anyway, the buckle or strap lacks grip.
How to avoid lower back pain and painful spots?
Start with the internal organization: a dense object against the lumbar region is enough to create pain. Then, look for regular contact throughout the entire waist, without any areas that “bite”. If the pain appears on the right or left side, it is often a load imbalance (one side has tension, the other has water). Adjust before “tightening it even more”.
When to loosen or tighten during approach?
Climb on unstable terrain, steep descents, or if the pack starts to slide. Ease up slightly when the cardio effort increases and breathing becomes shallow. The goal is to maintain safety and control, without overheating. In case of distress, fatigue, or nausea, slow down and adjust before the situation requires assistance or rescue.
Finally, let's summarize what really changes your comfort and safety, step by step.
Summary of the settings that change everything
Final checklist before climbing
An adjustable climbing backpack belt is not just a fashion accessory. It is a choice of carrying method that affects performance and safety. Good reflexes are repeated and become automatic, just like your braking techniques in relay racing.
- Belt centered on the Iliac crests, homogeneous contact.
- Adjustment order: belt → shoulder straps → reminders → compression straps.
- Dense material near the back, in the center; nothing hard that points towards the lumbar region.
- Micro adjustments according to terrain, heat and pace.
- Movement test: large steps, flexion, rotation of the hips, then control of the lunge.
- Safety plan: in the event of an incident, think of distress, rescue, and “re-establish communication” if you are out of range.
In practice, a well-adjusted harness makes you arrive fresher, more stable, and more available for climbing. It reduces unnecessary compensations, improves your control on unstable terrain, and helps you manage your gear without getting weighed down. Before your next outing, load your harness like you would for a real approach, apply the 6 steps, then correct just one adjustment at a time. This is the fastest way to find your “signature” setting—lasting and reproducible.
 Français
 English (UK)


