

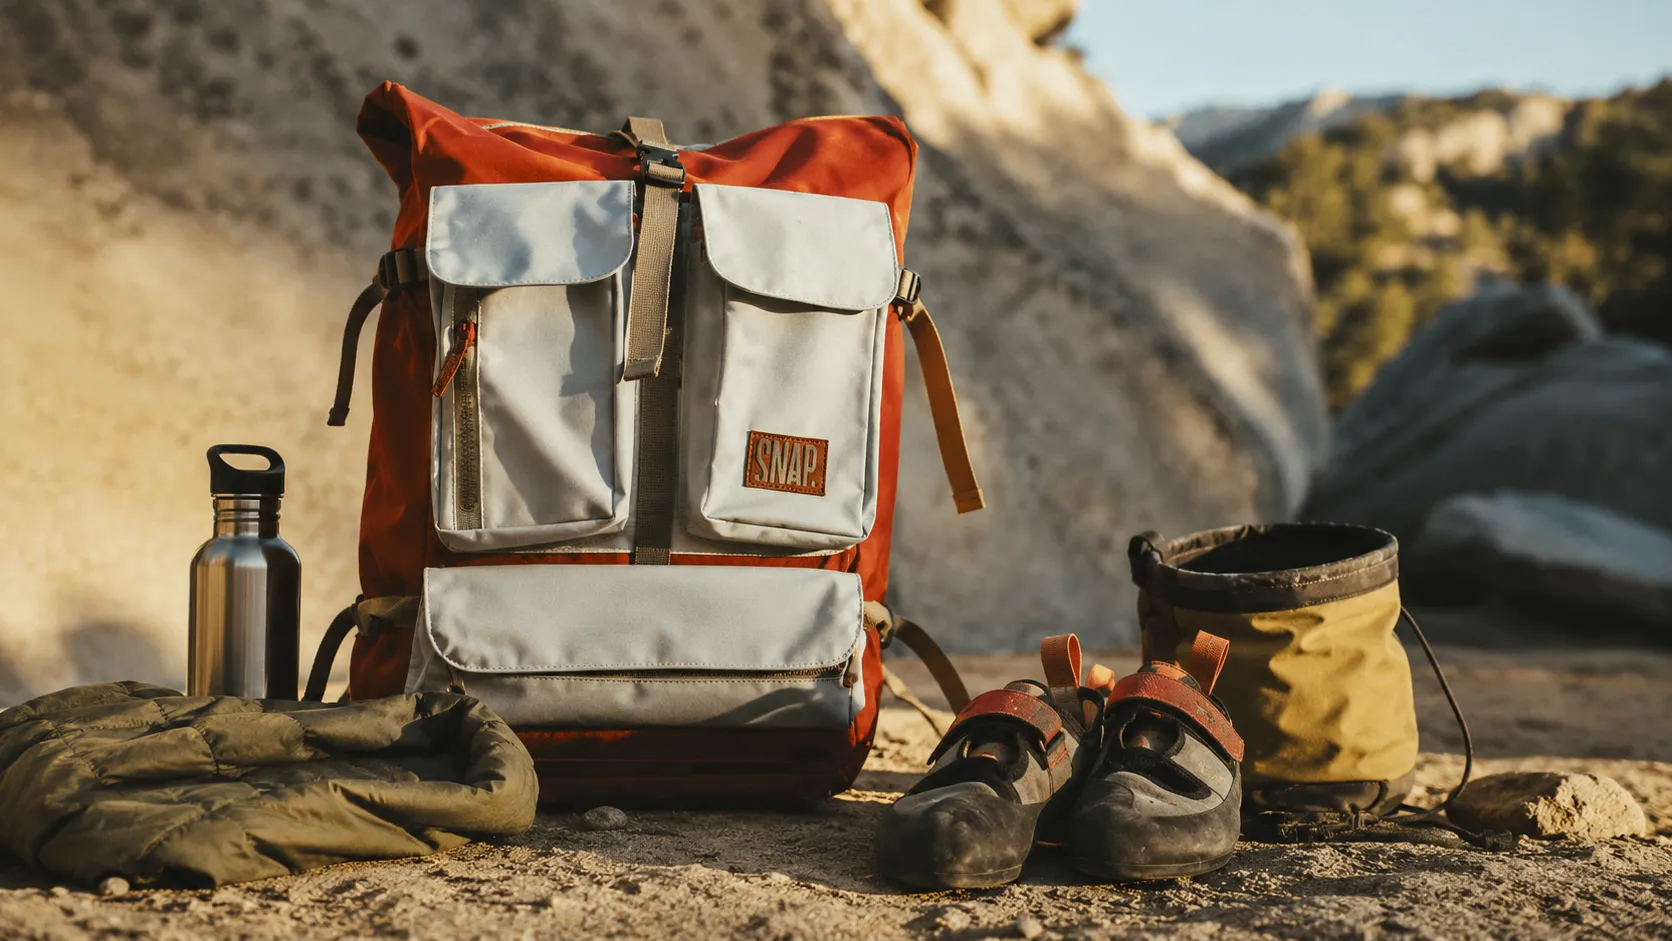
Budget climbing backpack: buy better without paying too much
You’re not buying a “bag”; you’re buying a way to carry and protect your gear for years. And given the size of the community, the offer is exploding: the FFME is reporting 125,112 licensed professionals in 2025.
The trap is to reason “price” instead of reasoning usage, duration and real cost (returns, accessories, wear and tear). In this guide, you will frame your climbing backpack budget using a simple method, then choose a model that is consistent with your practices. For a quick start, be sure to also check out our selection of bags at Snap Climbing.
The essentials in 30 seconds
1) Set a “all-inclusive” budget (bag + accessories + possible returns), otherwise you’ll be paying twice.
2) Buy for your dominant scenario (room, cliffs, alps): it is he who dictates the opening, the carry and the protection against rain and abrasion.
3) Aim for the right volume: too large = extra cost + chaotic loading + unnecessary fatigue.
4) Compare the cost per session over two years: a more durable bag may be cheaper to use.
Before we talk about prices, let’s secure the base: an “affordable” purchase is being prepared.
Prerequisites: plan your purchase to stay affordable
Measure actual charge and volume (without being misled by the product sheet)
A “cheap” climbing backpack becomes expensive if you undersize it and have to buy a replacement, or if you oversize it and pay for volume you never use. Start by measuring what you really carry: weigh your complete kit (kitchen scale, scale or luggage scale) and do a test load.
Ground tip: Fill a neutral bag (or box) with your gear, then transfer it into the bag you plan to use in the store. Check the usable volume, not the marketing volume. On a walking route, a poorly placed liter quickly turns into a problem for your back and shoulders.
Also consider the constraints of everyday life: humidity, abrasion on the rock, road dust, and transportation by car or on two wheels. A “sufficient” amount of fabric on the paper can fold upon first serious rubbing.
Checklist: typical equipment to be transported (to avoid buying too small items)
This list serves as a reference. Adjust it according to your practice (indoor climbing, cliff climbing, big wall climbing, mountaineering) and your level of difficulty.
- Rope (if you don’t use a dedicated rope bag)
- Dégaines, insurance, crossbows, longbows
- Helmet (often outside)
- Baudriers (Yours, sometimes a second one if you climb together)
- Slippers + shoe bag if you want to isolate the smell
- Bag Magnets + brush
- Light windproof/waterproof jacket
- Water + snack
- Paper or phone case (think about the battery)
Measure your complete kit, then test the volume in real conditions.
The checklist avoids the most expensive mistake: buying too small and having to replace it.
Once your realistic budget is set, you can define a budget that is sustainable.

Defining a climbing backpack budget that takes into account hidden costs
Reasoning based on “total purchase budget” (and not just the advertised price)
The online market encourages quick comparisons, but it also encourages impulsive purchases. In France, e-commerce has reached 159.9 billion euros in 2023 (up by 10,5%) according to Fevad (2024 edition of the key figures). The result: many offers, but also many variations regarding delivery, returns and “packs”.
Your budget therefore needs to include what you actually pay to climb: a single pack isn’t always the best deal if you need to add a rain cover, a harness, or if returns are complicated.
| Cost post | Why it matters | How to control it |
|---|---|---|
| Delivery price | It’s your incompressible cost | Comparing “delivered” and not “at cost” |
| Returns / exchanges | Poor fit of the back or the straps can quickly become a problem | Check the time limit, the required status, who pays for the return |
| Accessories | Without them, your organization deteriorates | Prioritize the essentials (protection + organization) |
| Wear / replacement | The “cheap” can become disposable | Look at the seams, the stitching, the zippers, the after-sales service |
Simple formula: your actual budget (to copy before buying)
Total purchase budget = bag’s delivered price + necessary accessories + cost of likely returns − estimated resale value.
This formula forces you to prioritize. Example: If you’re hesitating between two bags that are close in price, the one that sells for better value and repairs more easily is often the best “budget climbing backpack,” even if it’s a bit more expensive to buy.
Minimum thresholds per practice (logical, not marketing-driven): for the gym, prioritize simplicity and quick access; for the cliffs, prioritize resistance to friction and carrying; for mountaineering, reduce unnecessary weight and secure access with stable settings.
Your budget should include returns, accessories, and potential resale.
The “good deal” is the one that retains its value and doesn’t force you to repurchase it.
Now that the budget is set, the next step is to choose a bag that suits your actual scenario.
Frame your use: room, cliffs or mountaineering
Concrete scenarios: rope, carabiners, quick access
In the gym, you often look for a compact bag that can hold slippers, magnesium, a layer and a water bottle, with an opening that doesn’t spill everything on the ground. In the natural environment, the bag becomes a carrying tool: you walk, you lay down, you pick up. The full “suitcase” type opening can be a real time-saver, especially when you alternate between climbing and insurance.
Ask yourself a simple question: “How often do I carry a rope in this bag?” If the answer is “often”, either you assume a larger bag, or you go with a backpack + rope duo. This duo may seem more expensive, but it improves organization and longevity (less internal friction, less load on the back).
Luggage compatibility: avoid the bag that is impossible to travel with
If you are taking the plane, do not choose at random: IATA cites the standard dimensions of cabin baggage as a reference. 56 × 45 × 25 cm, and also indicates that weight limits may start at 5 kg, while health and safety recommendations mention 23 kg for checked baggage.
Scaling up: If your “fragile” bag is a monster, you risk paying extra baggage fees or having to recondition everything. A more understated bag, without fragile external parts, often works better.
Your dominant scenario dictates the choice: openness, portability, organization.
Traveling requires avoiding overly rigid forms and external elements that attract attention.
Once the usage is determined, the right choice of volume becomes obvious… if you decide on it correctly.
Choosing the right volume and an organization that doesn't cost more
Typical volumes and internal organization: aiming for “just right”
In practice, we find three families: small format (around twenty liters) for the room and light sessions; intermediate format (around thirty liters) for the day outside without a rope; large format (around forty liters and more) for carrying rope, water, warm sleeping gear, and a real kit. If you take too big a pack, you pay for fabric, zippers, and you suffer from a load that moves around.
The real issue is organization: a bag that opens wide and holds its contents without “tetris” allows for neat organization, therefore less forgetting and less wear and tear. Limit the number of external pockets if you frequently handle them: they get snagged, wear out and end up costing you a lot in repairs.
Aim for little compartments, Well thought out: a “dirty” space for slippers, a “dry” space for the sleeping bag and phone, and an accessible place for the magnesium.
Decision tree: volume per output (and avoid oversized bags)
Flux: You mainly climb in a small format room → quick opening, sturdy base.
You mainly climb in the cliffs during the day without wearing a harness → intermediate level, “shoes” pocket, wide access.
You regularly carry a rope + water + sleeping bag → a large volume pack or a backpack duo + a sleeping bag sack.
You are doing mountaineering → controlled volume, useful harnesses, stability when carrying, few fragile accessories.
The most common mistake: buying “just in case”. You pay more, and you have less stability in your back.
Too big = extra cost + moving load + fatigue.
The internal organization often matters more than the advertised volumes.
Once the volume is set, you can assess the true value: durability and cost of use.
Estimate sustainability and cost per output (over two years)
Wear points: bottom, seams, zippers, friction areas
Durability is tested in three places: the bottom (which rubs against the ground), the seams of the traction zones (straps, handle, attachments), and the zippers (dust + traction). For a budget climbing backpack, look for a sturdy yet simple construction: reinforced bottom, neat seams, a closure that doesn’t force you to use your hands.
Twill fabrics are often compared by denier (thread thickness), but the most important thing is the location of the reinforcements. A “thick” fabric without reinforcements will still wear out eventually. Also look at the finish: a protected zip, a stitched seam with tear-off points, and a handle that doesn’t cut your hand.
Simple calculation: cost of use and repairability
To compare two bags, forget the label and calculate your cost of use: “real price / number of planned sessions”. Then add a decisive criterion: reparability (removable zipper, accessible seams, after-sales service policy). That’s where quality becomes profitable.
Finally, rely on serious field reports: PlanetGrimpe explains that it has chosen and tested 6 models of bags, with various specifications sheets attached, and describes in particular a bag of 50L in a loading that is facilitated by a “cubical” shape. This type of file helps you identify good design ideas, even if you don’t exactly buy the model tested.
Durability is evident in the seams, the pull-on fasteners and the zippers.
Compare the cost of use and the ability to repair, not just the price.
With these criteria, you are ready to compare offers without being lured by a promotion.
Compare offers and avoid pitfalls (delivery, returns, counterfeit products)
Comparing “delivered price” and return conditions
A promotion is only interesting if the price delivered is good and returning is simple. In real life, you could be mistaken about the size of the back, the length of the straps, or realize that a full load puts too much strain on your shoulders. So check before buying: who pays for return shipping, what is the required condition, and the timeframe.
Useful calendar: end-of-series and collection changes are often more interesting than “general promotions”, because you are targeting a real need for clearance sales. And if you are targeting a durable bag, second-hand can be a good option, provided you inspect the areas of wear and tear.
Matrix: channels of purchase, risks and gains
| Canal | Possible gains | Typical risks | Quick check |
|---|---|---|---|
| Brand site | Traceability, clear customer service, technical information | Fewer discounts, variable stock | Return policy, spare parts |
| Specialized reseller | Council, trial, arbitration usage | Limited selection depending on store | Heavy test, adjustments on-site |
| Marketplace | Aggressive prices, availability | Third-party sellers, counterfeit products, ambiguous returns | “Official” seller, invoice, recent reviews |
| Second-hand | Reduced budget, good value for money | Hidden wear, tired zipper, odors | Background photos/zippers, test closure, seams |
To learn more: How to choose the best climbing backpack
Always compare the price of the delivery and the ease of return.
On the marketplace, check the third-party seller and the traceability before paying.
Once the purchase is made, you can still improve your budget by considering resale and maintenance.
Plan for resale and maintenance to avoid double spending
Re-sale value: what really protects it
The resale depends less on the logo than on the perceived condition. A clean bag, with no creases at the bottom, and with a smooth closure sell better than a “premium” bag that has been washed. Avoid drilling the bag to add unnecessary accessories: every modification reduces demand.
A detail often overlooked: the color. An ultra-specific bag, in style neon gear, While photography can appeal to buyers, it limits the number of potential buyers when it comes to resale. Conversely, a more understated aesthetic is more valuable.
Simple maintenance: prolonging without damaging
To maintain the finish and durability of the fabrics, use a gentle cleaning method: a soft brush, warm water, and neutral soap if necessary. Air dry away from a heat source. Store open, dry, without crushing the foam on the back. Finally, repair quickly: a small tear at the bottom, if it grows larger, becomes a complete replacement.
Useful accessories (without breaking the budget): an internal bag for slippers, a “waterproof” pocket for the phone, and minimal organization to prevent the magnet from spreading throughout the contents.
The resale depends on the condition: cleanliness, zip, bottom, seams.
The gentle cleaning process extends the lifespan without weakening the materials.
Last step: validate the bag as you would validate a critical piece of equipment in a situation.
Field validation: checking comfort, material access and weak points
Load test for about twenty minutes
Load the bag as if you were going out for a day, then walk for about twenty minutes. Look for three signs: is the bag pulling towards the back, are the straps cutting in, and is the back too hot? The straps should remain stable, without slipping, and the ventral belt must carry some of the weight if the bag is loaded.
A good bag is not “soft” when empty: it remains stable when loaded. And it’s not a question of perfect morphology, but of adjustments. Test it sternal straps (position and tension) to stabilize without compressing.
Quick quality control: zippers, seams, fabric, access
Open and close several times. Inspect the seams at the straps“ attachments, the handle, and the corners of the bottom. Check the access to the equipment: you must be able to remove rope, pulleys, and shoes without spilling everything. A ”well-thought-out” bag saves you time on site, which means less energy.
| Common problem | Symptom | Direct solution |
|---|---|---|
| Bag that “pulls” backwards | Shoulder fatigue, imbalance | Bring the weight of the back closer, adjust the ventral belt, rest the rope |
| Slow access to equipment | You empty everything on the ground | Prefer large opening, dedicated “dirty” pocket |
| Rapid wear of the outer pockets | Cracks, holes, seams that are leaking | Limit the external area, choosing a more robust fabric for exposed areas |
Final goal: a stable, durable, and truly functional bag comfortable When it is loaded, it is not just beautiful in photos. Also consider trail navigation: a secure handle and a well-structured back change everything when approaching.
Validez loaded, ready to go: this is where the carry reveals the flaws.
Check zippers and seams in the areas of traction before the first day outside.
To finalize your decision, here are the most common pricing questions among climbers.
FAQ price of climbing bag
What minimum budget is required for regular climbing?
First, calculate your total purchase budget (shipping, returns, accessories), then set a minimum that is linked to durability: reinforced base, durable stitching, reliable zip. If you climb a lot, a “budget” backpack that cannot be repaired costs a lot to use, because it quickly becomes worn out. Aim for consistency: a stable and sturdy backpack, even a simple one, beats a gadget backpack.
What is the volume of rubble per day?
The right volume depends mainly on the rope. Without rope, an intermediate size is usually sufficient for helmet, water, layer, hardware and shoes. With rope, you switch to a larger volume or a backpack + rope bag duo. On cliffs, prioritize a wide opening and a sturdy bottom: you often place the bag on the ground.
New or second-hand to save money: which one to choose?
Second-hand is interesting if you check the stitching, zips and anchor points on the straps. New is safer if you have any doubts about the size of the back, if you want clear after-sales service, or if you are looking for a longer lifespan. If you are unsure, buy from a place where returns are easy: you reduce the risk of paying for an unsuitable bag.
Which brands hold up best over time?
Look less at the brand than at the design choices: reinforcements at the bottom, double stitching, protected zip, sturdy handles and attachments, and fabric adapted to friction. Test reports and user feedback are useful for identifying good designs, but always validate them with your own testing load and your own morphology.
How to avoid paying too much for unnecessary options?
Eliminate everything that adds cost without improving usability: fragile external pockets, decorative straps, too complex organization. Instead, look for a simple structure, an efficient opening, stable carrying, and solid finish. If an option doesn’t save you time on the go or protect the contents, it doesn’t deserve your budget.
Your climbing backpack becomes easy to manage as soon as you bring it back to the field: what you carry, how you access it, and how long it takes. Set a total purchase budget, choose a volume consistent with your dominant usage, and then load it up on a hike. This method avoids “just in case” purchases and hasty replacements. Once you have your criteria in place, you can buy with peace of mind, with a true value logic.
 Français
 English (UK)


