

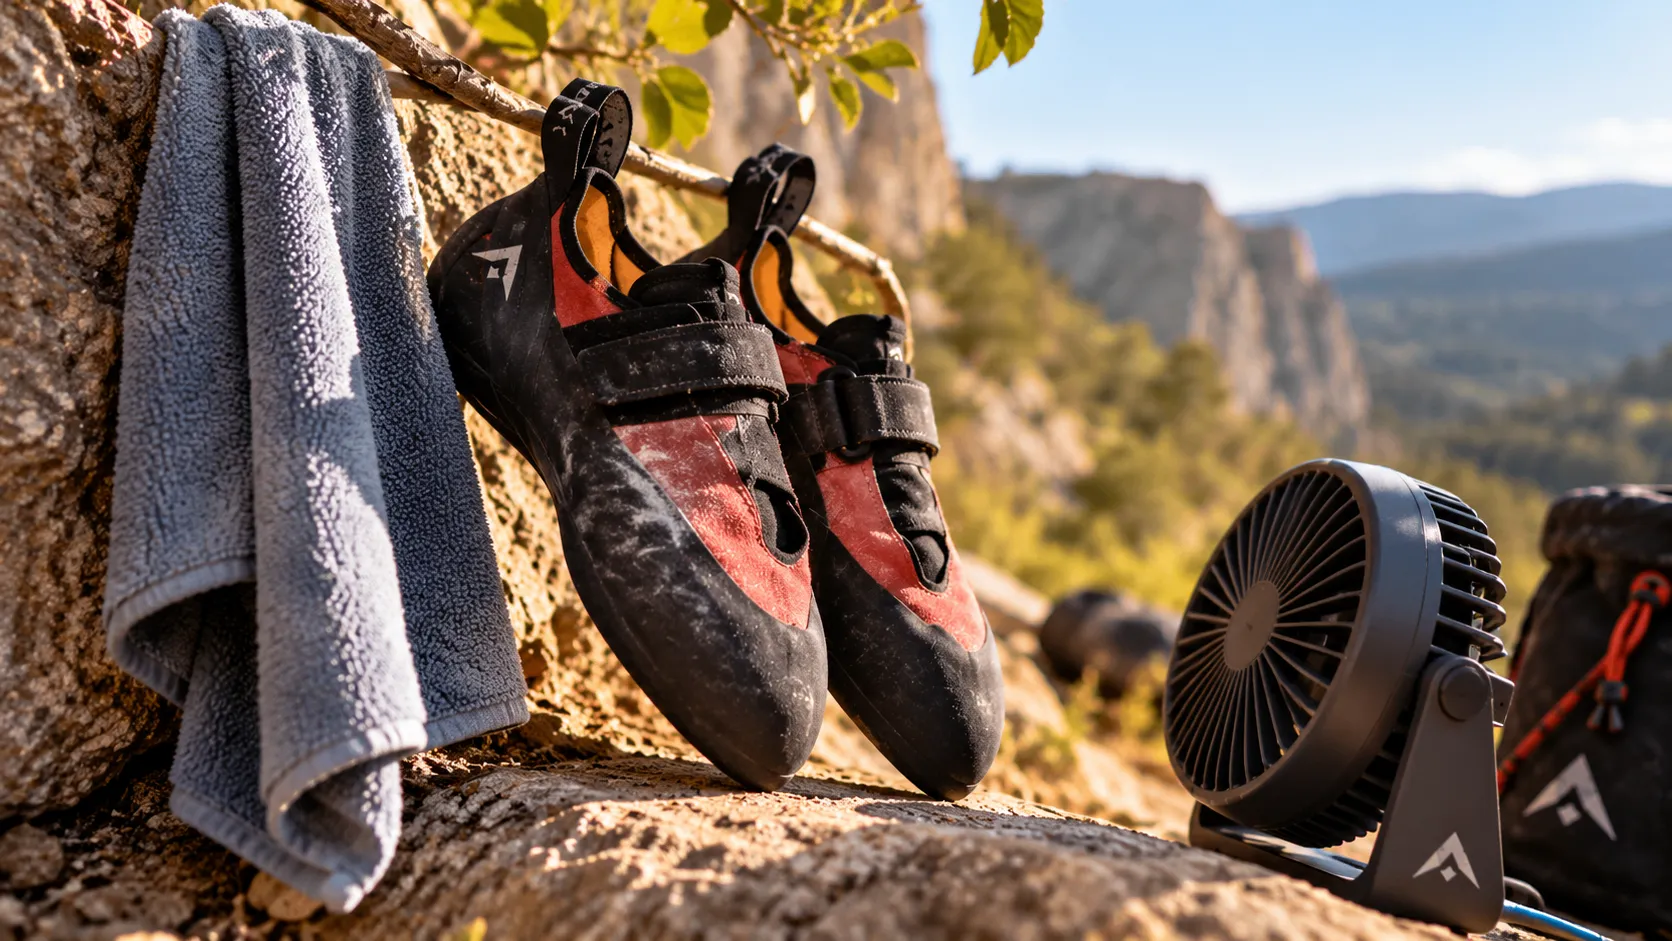
Dry your climbing shoes quickly (without damaging them)
Your slippers come out wet, smell «messed up»… and you need to re-glue them quickly? The right method is not to boil them, but to accelerate the evaporation of the moisture, without stretching the shape or weakening the adhesives. To put this routine back on track in a comprehensive approach (choice, maintenance, lifespan), consult our guide climbing shoes.
In this article, you follow a simple, minute-by-minute procedure (without direct heat), with concrete guidelines for traveling, limiting bad odors, and maintaining grip for the next climbing session.
The essentials in 30 seconds
Air out the shoe immediately: the more open the sole of the shoe is, the faster the moisture escapes.
Absorb it in it: often replaced paper or rolled dry socks to absorb sweat without distorting it.
Ventilate gently: air flow from a distance, ambient air, porous support under the sole.
Avoid direct heat: sun, closed car, hairdryer nearby, radiator = rubber and adhesives at risk.
Before accelerating, prepare your «drying station»: you will save time and avoid irreversible mistakes.
Prerequisites: prepare for quick drying without distorting the sole
Useful (simple) tools for drying quickly without breaking the shape
Your goal is twofold: to remove the moisture from inside, while keeping the volume of the slipper. There’s no need to add extra material. A microfiber towel, absorbent paper, a pair of dry socks, and a perforated support are enough in most cases.
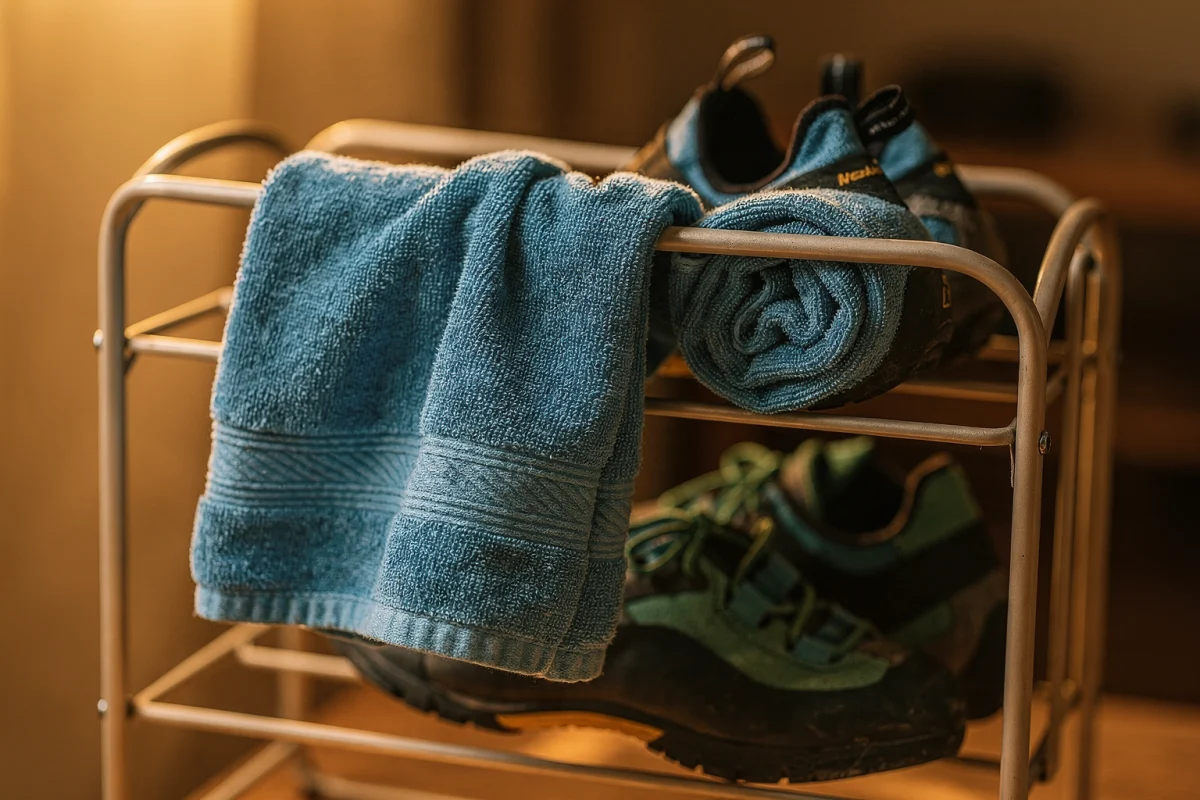
If your slippers are very narrow, opt for a «soft support» (rolled socks) rather than a rigid object. A hard object can mark the heel, force an internal seam, or create a tension point on the rubber.
Finally, keep in mind that humidity isn’t «dirty» in itself: what accelerates bad odors is the combination of humidity + heat + confinement, which promotes the proliferation of bacteria. Your strategy is therefore free air, not overheating.
Estimated time according to humidity and material (realistic benchmarks)
The drying time depends mainly on three parameters: the amount of internal moisture, actual ventilation, and the material’s ability to «breathe.» A pair used in a gym, barefoot, after an intense session will rarely dry as quickly as a pair worn briefly outdoors in dry weather.
| Background after the session | Pain when touched (inside) | Objective of the method | Scale of magnitude |
|---|---|---|---|
| Brief session, feet rather dry | Light wet film | Airing + external wiping | A few hours |
| Normal session, marked sweating | Wet at the heel and toes | Internal absorption + gentle ventilation | Between evening and night |
| Hot session, with «wet» slippers inside | Persistent humidity, wet smell | Cycle of absorption/rotation + continuous ventilation | Full night, sometimes more |
Level of difficulty depending on your drying context
The simplest: ventilated house, temperate room, air circulating. The most complicated: closed car, waterproof bag, hotel room with strong heating and a nearby radiator. The more confined the environment is, the more you have to compensate with internal absorption and remote ventilation.
A useful tip: if your socks remain in a bag after the session, you create a «mini-greenhouse». Even without washing, the sweat accumulates and the inside remains damp for longer.
Regarding sweating: the body produces about zero point five liters sweating per day in a «normal» situation, without sustained effort, according to the Maladie Insurance (ameli.fr). As you climb, your sweating increases, and your shoes absorb some of that moisture.
Safety checklist: heat, ventilation, absorption
- Warmth: no direct contact with a hot source (radiator, stove, dashboard, nearby hairdryer).
- Ventilation: tongue out, open scratches, heel that «breathes», air circulating around and under the sole.
- Absorption: absorbing material inside, replaced as soon as it becomes wet.
- Form: soft support (rolled socks) rather than a hard object.
- Adhesives and seams: If it smells like glue or the gum becomes sticky, stop all acceleration.
Open + absorb + ventilate: this is the fastest combination, without risk.
Containment creates the problem; free air solves it.
Stay in shape with something flexible, not rigid.
Once your «drying zone» is ready, the real time saving begins as soon as you leave the room or the spot.
Save time at the end of the session: ventilate and dry properly
Open to the maximum: tongue, scratches and internal volume
Open everything. Not «a little»: completely. Remove the tongue if it exists, loosen the elastic bands, and leave the insole in the most open position possible. This step increases the surface area of exchange between the inside and the ambient air.
If you fold the sock over itself, you trap the moisture in key areas: the forefoot, heel, and arch. The result: you think you’re «ventilating,» but the inside remains damp.
Wipe the outside with a microfiber cloth (without damaging the rubber)
Wipe the top (stem) and the edges, then finish by applying pressure to the sole. Avoid aggressive rubbing against the rubber: you are not looking to perform an abrasive cleaning process, but to remove the wet film and superficial dirt.
If the sole is dusty, a light wipe with a towel is sufficient. The bulk of the cleaning of the adhesive will be done later, when it is dry.
Drain the sweat before any acceleration
Before adding more paper or socks, leave your slippers open for a few moments, simply placed. This micro-phase prevents your absorbent material from being immediately saturated.
Flux: The opening is maximally open → air enters through the front (toes) → circulation along the arch → exit through the heel and the collar. The larger the opening, the more effective the flow.
Opening completely is better than «warming up a little».
Seal the gum, do not sand it.
Let it breathe before you absorb it.
After the aeration, you have removed some of the moisture. The rest is trapped in the lining: this is where the internal absorption makes the difference.
Absorb internal moisture: the fastest method without heat
Absorbent paper: effective if you replace it often
The absorbent paper works, provided you don’t leave it in place for too long. As soon as it gets wet, it stops absorbing and becomes a warm sponge in your sock.
Work in cycles: fill up without compacting, let it set, remove the excess, and apply more dry material. Focus on the areas that remain wet: heel, under the toes, and the inner edge.
Rolled dry socks: maintaining shape and regular drying
The good trick when you want to avoid any deformation: a rolled up dry sock, inserted without forcing. It absorbs, but it also maintains the volume. This is useful if your slippers are very asymmetrical, or if you already have a fragile inner seam.
Choose a sock that doesn’t get fluffy. The fibers that stick to the inside end up trapping moisture and making cleaning more difficult.
Ankle/toe rotation: stopping the «persistent» moisture»
When a slipper «refuses» to dry, it’s often because you’re always absorbing it in the same place. Alternate: first the front foot, then the heel. In very tight models, the moisture concentrates where the pressure is maximum.
Warning: adhesives and internal seams
Be careful with aggressive methods. If you push a material that is too bulky or too hard, you risk tearing an internal area or pulling on a seam. This isn’t always immediately noticeable, but the shoe loses its support in the heel.
If you are considering a more thorough cleaning (mild soap or very diluted detergent, optional), keep in mind that most manufacturers recommend avoiding too-harsh products. An old brush can be used, but only with a light touch to avoid damaging the lining.
Absorb it in short cycles, not by «forgetting» the paper all night.
The rolled up socks dry and maintain their shape.
Never use a rigid object that exerts force.
Once the internal moisture is captured, ventilation transforms a «correct» drying process into a truly rapid one.
Speed up without damaging: dry quickly with gentle ventilation
Remote fan: ambient air blows off direct heat
A fan placed at a distance, directed towards open shoes, is the safest option. You increase the evaporation of moisture without raising the temperature to the point where adhesives and rubber become soft.
This principle is consistent with the work on the microclimate of shoes: the more the ventilation increases, the more the internal environment becomes unfavorable to bacteria, and the humidity decreases. A study published in Scientific Reports (Nature) It clearly links humidity, internal temperature and ventilation to the microbial dynamics of the foot.
Alternating left/right drying: homogeneity and control
To prevent a slipper from drying out «on the outside» but remaining wet inside, alternate the direction of the flow. You want uniform drying: forefoot, heel, then back to the forefoot. This alternation reduces areas that stagnate.
Support suspended: circulation under the sole
Place your slippers on a grid, a drawer with gaps, or a support that allows air to pass under the sole. A sole that sticks to a flat surface blocks the drainage from underneath, especially if the rubber is thick.
Controlled protocol «thirties-sixties-eighties»
Phase one: soft ventilation, large open toe, without internal absorption, to evacuate moisture «easily».
Phase two: add absorbent paper or rolled up socks, then place under ventilation again.
Phase three: Remove the absorbent, ventilate again to remove the residual moisture. Finally, finish with a rest in the open air.
The airflow is better than the heat: you dry without cooking.
Alternating the orientation avoids the «hidden» wet areas.
A cushioned support really speeds up, especially under the footbed.
Is your pair losing its firmness over the seasons? See also: Repairing worn climbing shoes: tips and advice
When you’re traveling, you don’t always have a fan and a support. However, you can still maintain a reliable method provided you follow two rules: separation and ventilation.
Express drying in the car and on trips: staying efficient without equipment
Breathable bag, separate from the rest of the equipment
Avoid plastic bags and waterproof covers. On trips, the best compromise is a dedicated, breathable bag separate from your clothes. This reduces the risk of wet odors and limits contamination of the rest of your gear.
If you only have your climbing bag, create an «aerated» area: zipper open, shoes placed above, and not crushed under a crash pad.
Regular stops: aerate, turn over, reabsorb
In a car, the classic mistake is to leave the slippers in the boot, closed, for hours. Do the opposite: as soon as possible, take them out into the open air, open them, and replace the absorber if necessary.
This point is crucial because the heat in the cabin builds up quickly: a press release from the TCS indicates that in full sun the temperature inside a car can reach eighty degrees Celsius, with a dashboard measured at seventy-seven degrees. Even if your shoes are not on the dashboard, the trunk can become a storage area.
Hotel, refuge: ventilated areas, never on a radiator
Sometimes you want to «save time» by placing the slippers on a radiator. The result is often: rubber that hardens, skin that stretches, and sticky areas that are tiring to touch. Instead, look for an air flow: an entrance, a bathroom with an open door, or near a window that is slightly open.
Minimal travel kit: paper, bag, microfiber
The compact trio: absorbent paper, microfiber towel, breathable bag. Add dry socks if you know the absorption step will be necessary. It’s lighter than a dryer, and safer for the shoe.
Separate your slippers from the rest: this limits the overall odor and moisture.
In a car, overheating is quick: ventilate as soon as possible.
In terms of accommodation, prioritize ventilation rather than a radiator.
Exactly: the majority of damage comes from poorly executed «good intentions». Here are the thermal errors that ruin a pair.
Thermal errors: what damages the rubber and glues
Extended direct sunlight and warm windows
Direct sunlight quickly heats up the rubber, even in mild weather. A window sill behind a window acts like a greenhouse. You lose in terms of flexibility, and the grip can become irregular.
Overheated radiator and dashboard
The closed trunk is a trap in the summer. Even without contact with the sun, the internal air heats up. Your slippers may dry «quickly,» but at the cost of an accelerated aging of the adhesives.
Hair dryer too close: burning air and deformations
The hair dryer seems convenient, but it generates concentrated heat. Too close, you soften some areas before drying others. The result: localized tension, micro-loosening, and the shoe «tearing».
Radiator, stove, fireplace: maximum risk
When in contact with or too close to the material, the rubber can harden and the internal materials will contract differently. If you need to dry in a heated room, keep your slippers far away and rely on air circulation, not radiation.
Direct heat = rapid drying, but often irreversible damage.
The sun behind the glass is also a source of heat.
If you hesitate: choose the air, never the flame.
Once dry, your slippers can still pose two problems: odor and adhesion. Both can be solved without having to start over with a full wash.
After drying: preserving shape, odors, and adhesion
Controlling heel stiffness and support
Before putting everything away, check the heel, the sole, the inner edge. If the heel seems looser than before, you may have over-tightened the opening or heated it too much. In this case, stop accelerating and return to a gentle drying process.
Deodorize without saturating: baking soda, but the right way
Baking soda can help with bad odors, as long as it stays light. Apply very little of it, let it air-dry, then shake it thoroughly. Too much powder creates a wet paste when it comes into contact with sweat, and you’re back to square one.
If the smell is strong, consider a complete cleaning instead, using a gentle approach (very diluted mild soap, light scrubbing with an old brush, minimal rinsing). The washing machine remains a separate case: it exists, but it increases the risk of deformation and fatigue of the adhesives on some models.
Express cleaning of the sole for immediate adhesion
To regain grip without getting wet: brush the sole dry with a clean brush, then wipe with the microfiber. This removes dust and magnesium without starting a drying cycle.
Air-conditioned storage between two consecutive sessions
Between close sessions, don’t close everything up. Let the slippers breathe, with the soles facing upwards, away from a source of heat. An airy storage solution limits residual moisture and damp odor.
To learn more: Long-term storage of climbing shoes: the reliable, step-by-step method.
Deodorize yes, suffocate no: open air remains the basis.
Adherence: prioritize dryness to avoid restarting the drying process.
Between two sessions, store aerated.
There is still one step that many skip: objectively checking that the interior is indeed dry. This prevents the smell from returning «mystifyingly».
Validate the result: check the dryness, comfort and absence of wetness
Tactile tests: heel and forefoot (areas that lie the most)
The top may seem dry while the heel is still wet. Test thoroughly by gently pressing inside. If you feel localized dampness, resume an absorption + ventilation cycle.
Check for the absence of persistent wet odor
A persistent «wet» odor often indicates residual moisture. And moisture + confinement = ideal terrain for microbes. Research on the internal environment of shoes shows that some types of shoes can reach about thirty-two point two degrees Celsius and eighty-two point three percent relative humidity, which promotes the feeling of dampness and the risk of skin infection, according to a biomedical study on the internal microclimate of shoes.
Shoe fitting test: comfort without hard spots
Put your shoes on for a few moments. If an area seems stiffer, or if a hard spot appears where you didn’t have one, you may have dried too quickly, been too hot, or been forcing the shape. It’s better to slow down than to break the shoe.
| Symptom after drying | Probable cause | Quick action (without risk) |
|---|---|---|
| Wet smell that returns | Residual moisture on the heel/toes | Resume internal absorption, then gentle ventilation |
| Tougher rubber, «slippery» feel» | Too direct heat, overheating | Stop the heat, rest in the open air, dry cleaning of the sole |
| Talon is less secure | Deformation during drying, forced internal retention | Slow drying, maintaining flexibility (rolled socks), avoid any traction |
| New pain in a specific area | Internal stress point, fold or seam stressed | Re-positioning internal maintenance, allowing it to take shape in rest |
Validate the interior: that’s where the moisture hides.
If the wet smell returned, the slipper was not dry.
The comfort when putting on the shoes is your final test.
Are you changing your pair soon? Our guide can help you: Why trying on your shoes in-store remains essential
FAQ: Speed up the drying of slippers (without breaking them)
How long does it take to dry without direct heat?
It depends mainly on the internal humidity and ventilation. On a simply wet pair, aeration and wiping can be sufficient in a few hours. If the interior is downright wet (heel and toes), expect a full night with gentle absorption and ventilation cycles instead. The good benchmark: no wetness to the touch, even at the heel.
Can you leave a fan on all night?
Yes, if the air remains ambient (no hot source) and if your slippers are stable, open and on a support that does not deform them. To avoid uneven drying, orient the flow without «blowing in a single point». Add a desiccant at the beginning if the interior is wet, then remove it at the end of the cycle to finish in the open air.
What to do if the interior remains damp while the exterior is dry?
Return to the «open, absorb, ventilate» logic. Remove any feeling of moisture from the heel and under the toes with renewed absorbent paper or rolled dry socks. Then, gently ventilate at a distance, alternating the direction. Avoid increasing the heat: you might speed up the process, but you would weaken the rubber and adhesives, especially in the curved areas.
Why do the sun or the radiator damage the slippers so much?
Because direct heat does not only affect water: it also affects glues, textiles and rubber. Drying becomes inhomogeneous: some areas heat up and shrink while others remain wet. You may lose heel grip, create hard spots and reduce adhesion. The reliable method is air circulation, not radiation.
Gentle ventilation or «hot air»: which dries the best in the long run?
To dry quickly once, hot air can give the illusion of effectiveness. To dry often without ruining the pair, gentle ventilation wins. It removes the moisture without overheating the materials. It is also more consistent with odor management: less stagnant moisture, fewer conditions favorable to bacteria. Keep the heat for the room, not for the slipper.
Summary: The most reliable routine after each wet session
If you need to dry your slippers quickly, keep one rule in mind: speed up the evaporation of the moisture, not the cooking of the materials. Open them immediately, wipe the outside, then absorb the internal moisture through cycles, before gently ventilating them at a distance. Avoid any direct heat, especially in a closed car, in the sun behind a windshield, or on a radiator. Finally, test the inside by touching it and checking for no damp smell before prolonged storage: this is what protects the grip and lifespan.
 Français
 English (UK)


